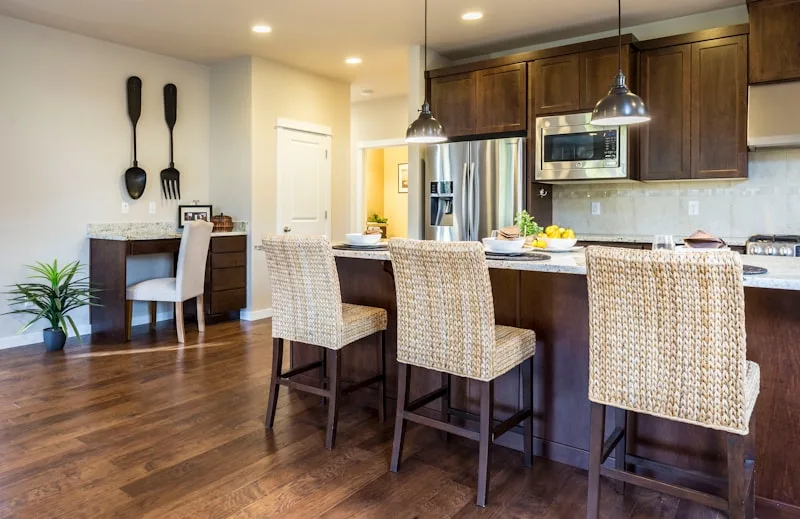
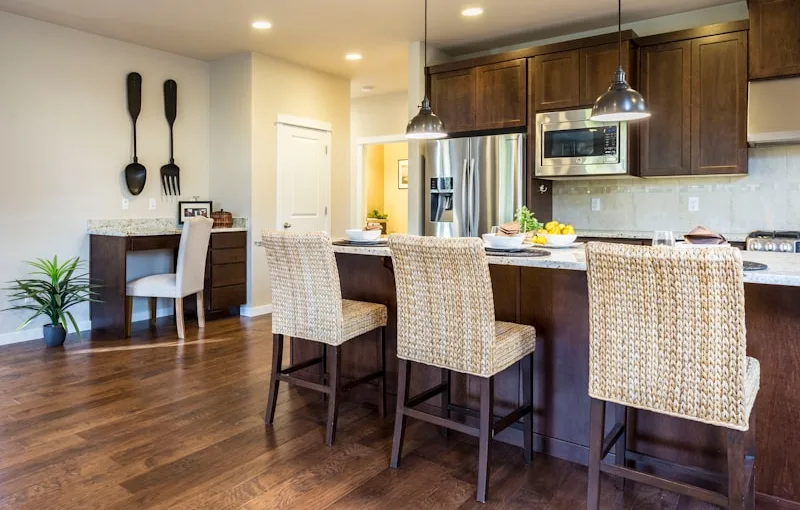
First things first, gather your tools. You’ll need a screwdriver, a pry bar, a hammer, and maybe a friend or two to help out. It’s always more fun to tackle a project with company, right? Start by emptying out your cabinets. This is the perfect time to declutter and maybe even donate those mismatched dishes you never use.
Once everything is out, it’s time to disconnect the cabinets from the wall. If your cabinets are attached with screws, simply unscrew them. If they’re glued, a little gentle persuasion with a pry bar should do the trick. Just be careful not to damage the walls—think of it as a delicate dance rather than a demolition derby!
Now, if your cabinets are hanging over the countertop, you’ll want to remove the countertop first. This can be a bit tricky, especially if it’s glued down. Use your pry bar to gently lift it off, and don’t forget to watch your fingers!
After the cabinets are free, it’s time to take them down. Start with the upper cabinets, as they’re usually lighter and easier to manage. Grab a buddy to help hold them steady while you unscrew or pry them off the wall.

And just like that, you’re one step closer to your dream kitchen! With those old cabinets out of the way, you can start envisioning the new space you’ll create.
Revamp Your Space: A Step-by-Step Guide to Removing Old Kitchen Cabinets
First things first, gather your tools. You’ll need a screwdriver, a pry bar, a hammer, and maybe a friend or two for some extra muscle. Think of this as your kitchen makeover toolkit—like a superhero assembling their gadgets before a big mission!
Next, clear out your cabinets. This is your chance to declutter! Take everything out and sort through your items. You might find that long-lost spatula or that fancy dish you forgot you had. Once your cabinets are empty, it’s time to turn your attention to the hardware. Remove the doors and drawers first; it’s like peeling an onion—layer by layer, you’re getting closer to the core of your kitchen’s potential.
Now, let’s tackle the cabinet boxes. Use your screwdriver to unscrew any screws holding them in place. If they’re stubborn, a pry bar can help you gently coax them away from the wall. Just be careful not to damage the surrounding walls—think of it as a delicate dance, where you want to lead without stepping on any toes!
As you remove each cabinet, take a moment to appreciate the transformation happening in your kitchen. It’s like shedding old skin to reveal a fresh, vibrant you! Once everything is out, you’ll have a blank canvas to work with. Imagine the possibilities—new cabinets, a fresh coat of paint, or even an open shelving concept. The world is your oyster!
Out with the Old: Expert Tips for Safely Dismantling Kitchen Cabinets
First off, gather your tools. You’ll need a screwdriver, a hammer, and maybe a pry bar. Think of these tools as your trusty sidekicks on this adventure. Before you start, clear out everything from the cabinets. It’s like decluttering your mind before a big exam—essential for a smooth process!
Next, turn off any power sources if your cabinets have built-in lighting. Safety first, right? You wouldn’t want to accidentally zap yourself while trying to channel your inner handyman. Once that’s sorted, it’s time to remove the doors. Unscrew the hinges and gently take them off. It’s like peeling an orange—start from the top and work your way down.
Now, let’s tackle the cabinet boxes. Most cabinets are attached to the wall with screws. Locate those screws and unscrew them, but don’t just yank the cabinet off the wall. Instead, give it a gentle nudge. Think of it as coaxing a shy cat out from under the bed. If it doesn’t budge, check for any hidden screws or brackets.
DIY Kitchen Makeover: How to Remove Old Cabinets Like a Pro
First things first, you’ll want to gather your tools. Think of this as assembling your superhero squad. You’ll need a screwdriver, a pry bar, a hammer, and maybe even a drill. Trust me, having the right tools makes all the difference. Now, before you start swinging that hammer, take a moment to empty out your cabinets. It’s like decluttering your mind before a big exam—clear the space, and you’ll work better.
Once everything is out, it’s time to disconnect the cabinets from the wall. Start by unscrewing any screws that hold them in place. If your cabinets are stubborn, a little gentle persuasion with a pry bar can help. Just be careful—this isn’t a demolition derby! You want to avoid damaging your walls, so take it slow and steady.
Now, if your cabinets are glued to the wall, don’t panic. Use your pry bar to gently wiggle them free. It’s a bit like trying to get a stubborn lid off a jar—patience is key! As you work, keep an eye out for any electrical or plumbing lines. You don’t want to accidentally turn your kitchen into a water park!
Once the cabinets are off, you’ll be left with a blank canvas. Think of it as a fresh start, ready for your creative touch. Whether you plan to install new cabinets or simply paint the walls, the possibilities are endless. So roll up your sleeves, put on some music, and let the transformation begin!
From Drab to Fab: The Ultimate Guide to Cabinet Removal for Your Kitchen Renovation
First off, think of your cabinets as the frame of a beautiful painting. When you remove them, you’re not just clearing space; you’re opening up a world of possibilities. Imagine the light flooding in, the new layout you can create, and the fresh vibe that will breathe life into your cooking area. But hold on—this isn’t just a demolition party. You need a plan!
Start by emptying your cabinets. Yes, it’s time to face that collection of mismatched Tupperware! Once everything is out, take a moment to assess the condition of your walls and the space behind the cabinets. You might discover hidden treasures or, let’s be honest, a few surprises that need addressing.
Next, it’s time to unscrew and detach. Use a drill to remove the screws holding your cabinets in place. If they’re glued, a little gentle persuasion with a pry bar can do wonders. Just remember, patience is key here. Rushing can lead to damage, and we don’t want that!
As you remove each cabinet, think about what you want to replace them with. Open shelving? A sleek new design? The options are endless! This is your chance to let your personality shine through. So, roll up your sleeves, put on some music, and get ready to turn that drab kitchen into a fab culinary haven!
Unlock Your Kitchen’s Potential: Easy Methods to Remove Old Cabinets
First off, gather your tools. You’ll need a screwdriver, a pry bar, and maybe a hammer. Think of these tools as your trusty sidekicks on this DIY adventure. Start by emptying out your cabinets—this is the perfect time to declutter and toss anything that’s been hiding in the back since the last decade. Once everything’s out, it’s time to unscrew the cabinet doors. This step is like peeling the layers off an onion; it reveals the beauty underneath!
Next, if your cabinets are mounted to the wall, you’ll want to locate the screws holding them in place. A little tip: use a flashlight to spot those sneaky screws hiding in the shadows. Once you’ve found them, it’s time to unscrew and gently pull the cabinets away from the wall. If they’re stubborn, a pry bar can help coax them out without damaging your walls. Just be careful—nobody wants to add wall repairs to their to-do list!
Now, if you’re feeling adventurous, consider removing the entire cabinet structure. This is where the real transformation happens! Imagine your kitchen opening up, like a flower blooming in spring. With a little patience and elbow grease, you’ll be well on your way to creating a space that inspires culinary creativity. So, roll up those sleeves and get ready to unveil the kitchen of your dreams!
Frequently Asked Questions
What Are the Steps to Remove Upper and Lower Cabinets?
To remove upper and lower cabinets, start by emptying the cabinets and removing any hardware. Next, disconnect plumbing and electrical connections if applicable. For upper cabinets, use a stud finder to locate screws, then unscrew them from the wall. For lower cabinets, remove screws from the back and sides, and carefully lift them out. Ensure to have a helper for safety and to avoid damage.
How Do I Dispose of Old Kitchen Cabinets Responsibly?
To dispose of old kitchen cabinets responsibly, consider donating them to local charities or organizations that accept used furniture. If they are in poor condition, check for recycling programs in your area that handle wood materials. Alternatively, you can hire a junk removal service that specializes in eco-friendly disposal. Always ensure that hazardous materials, if any, are handled according to local regulations.
What Tools Do I Need to Remove Old Kitchen Cabinets?
To remove old kitchen cabinets, you will need a few essential tools: a screwdriver (both flathead and Phillips), a pry bar for leverage, a hammer to assist with stubborn nails, a utility knife for cutting caulk or adhesive, and a drill for removing screws. Additionally, safety gear such as gloves and goggles is recommended to protect yourself during the process.
Can I Remove Kitchen Cabinets Without Professional Help?
Removing kitchen cabinets can be a DIY project if you have the right tools and skills. Ensure you turn off any electrical or plumbing connections, empty the cabinets, and use proper safety equipment. Carefully detach the cabinets from the wall and each other, taking care to avoid damage to surrounding structures. If you’re unsure, consider consulting a professional to avoid potential hazards.
How Do I Safely Remove Kitchen Cabinets Without Damage?
To safely remove kitchen cabinets without causing damage, start by emptying the cabinets and removing any hardware. Use a screwdriver to detach the cabinet doors and shelves. Carefully locate and remove screws or nails securing the cabinets to the wall and to each other. Use a pry bar gently to loosen the cabinets from the wall, taking care not to damage the drywall. If cabinets are glued, apply heat with a heat gun to soften the adhesive before prying them off. Always wear safety gear and work slowly to avoid accidents.
