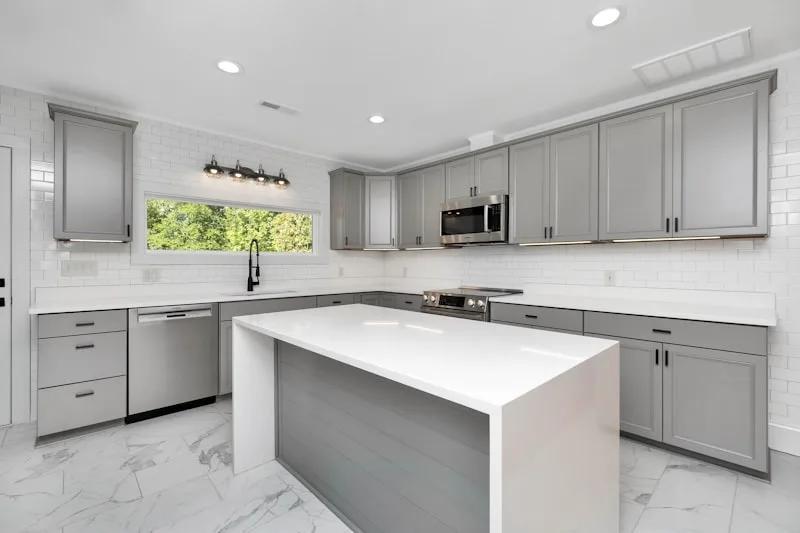
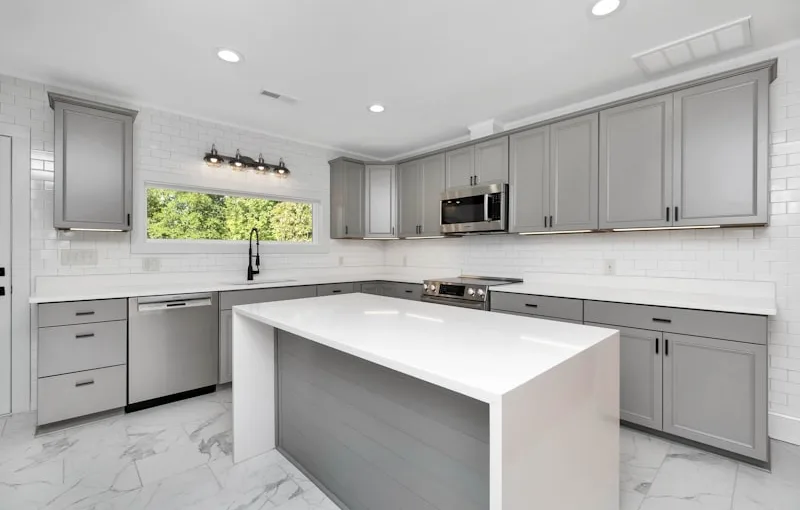
First off, gather your supplies. You’ll need sandpaper, a good quality wood stain, a paintbrush, and a sealant. Think of these tools as your trusty sidekicks on this journey. Start by removing all the cabinet doors and hardware. It’s like taking off a jacket before a big night out—everything looks better when it’s stripped down!
Next, grab that sandpaper and start sanding. This step is crucial because it helps the new stain adhere better. Picture it as prepping a canvas before painting; you want a smooth surface to work with. Once you’ve sanded down the cabinets, wipe them clean to remove any dust. You wouldn’t want that pesky dust ruining your masterpiece, right?
Now comes the fun part—staining! Choose a color that complements your kitchen’s vibe. Apply the stain with a brush, going with the grain of the wood. It’s like painting a picture; take your time and enjoy the process. Let it sit for a few minutes, then wipe off the excess. This is where the magic happens, and you’ll start to see the beauty of the oak emerge.
Finally, seal the deal with a protective finish. This step is like putting on a clear coat of nail polish; it adds shine and protects your hard work. Once everything is dry, reattach the doors and hardware, and voilà! You’ve just transformed your kitchen with a little elbow grease and creativity. Isn’t it amazing what a bit of refinishing can do?
Transform Your Space: A Step-by-Step Guide to Refinishing Oak Kitchen Cabinets
First things first, gather your supplies. You’ll need sandpaper, a good quality wood stain or paint, a brush, and some sealant. Think of this as your toolkit for transformation—like a painter with a blank canvas! Once you’ve got everything, it’s time to prep. Start by removing the cabinet doors and hardware. This is like giving your cabinets a spa day; they’ll appreciate the attention!
Next, it’s time to sand. Grab that sandpaper and get to work! Sanding helps to remove the old finish and opens up the wood grain, allowing the new stain or paint to adhere better. It’s a bit like exfoliating your skin—once you’re done, you’ll see a fresh layer ready for a glow-up.
Now, let’s talk color. Choose a stain or paint that speaks to you. Whether you’re going for a classic oak finish or a bold color, this is where your personality shines through. Apply it evenly with your brush, and don’t be afraid to experiment! Just like choosing an outfit, sometimes it takes a few tries to find the perfect look.
Finally, seal the deal with a protective coat. This step is crucial; it’s like putting on a raincoat before heading out. It protects your hard work from spills and scratches, ensuring your cabinets stay stunning for years to come. With a little patience and creativity, you’ll transform your kitchen into a space that feels brand new!
Revive Your Oak Cabinets: Expert Tips for a Flawless Finish
First off, let’s talk about cleaning. Imagine your cabinets are like a canvas waiting for a masterpiece. Before you start painting or refinishing, you need to wipe away the dust and grime. A simple mix of warm water and mild soap can work wonders. Grab a soft cloth and gently scrub those surfaces. It’s like giving your cabinets a refreshing spa day!
Next, consider the finish. If your cabinets are stained, you might want to use a wood conditioner before applying a new stain. Think of it as priming your canvas; it helps the stain adhere better and gives a more even color. When you’re ready to stain, choose a shade that complements your home’s vibe. Whether you’re going for a rustic charm or a sleek modern look, the right color can transform your space.
Now, let’s not forget about the hardware. Swapping out old knobs and handles for something fresh can be like adding the perfect frame to your artwork. It’s a small change that makes a big impact!
Finally, if you’re feeling adventurous, consider a DIY paint job. Chalk paint is all the rage for a reason—it’s easy to work with and gives a beautiful matte finish. Just remember to sand lightly before you start; it’s like giving your cabinets a little pep talk to get them ready for their big moment.
With these tips, your oak cabinets will be the talk of the town, radiating warmth and style!
From Dull to Dazzling: The Ultimate DIY Guide to Refinishing Oak Kitchen Cabinets
First things first, let’s talk about prep work. Just like a painter needs a clean canvas, your cabinets need a good scrub. Grab some soapy water and a sponge, and wipe down every inch. This step is crucial because it helps the new finish adhere better. Think of it as giving your cabinets a refreshing shower before their big makeover!

Next up, it’s time to decide on a finish. Are you feeling bold? A rich, dark stain can add depth and sophistication. Or maybe you’re leaning towards a lighter, airy look? A crisp white or soft gray can make your kitchen feel more spacious and inviting. Picture your cabinets as the stars of the show—what vibe do you want them to exude?
Once you’ve chosen your finish, it’s time to sand. This might sound tedious, but think of it as giving your cabinets a mini spa treatment. Sanding smooths out imperfections and helps the new finish stick like glue. After sanding, don’t forget to wipe away the dust—nobody wants a gritty finish!
Now, grab your brush or roller and start applying that gorgeous new color. It’s like painting a masterpiece, and you’re the artist! Take your time, and don’t rush. A couple of coats will ensure a stunning, even finish. And just like that, your oak cabinets will go from dull to dazzling, making your kitchen the envy of all your friends!
Unlock the Beauty of Oak: How to Refinish Your Kitchen Cabinets Like a Pro
First things first, gather your supplies. You’ll need sandpaper, a good quality wood stain, a paintbrush, and a sealant. Think of this as your toolkit for a mini kitchen makeover. Start by removing the cabinet doors and hardware. It’s like giving your cabinets a spa day—let them relax while you work on them!
Next, grab that sandpaper and start sanding down the surface. This step is crucial; it’s like exfoliating your skin before applying moisturizer. You want to create a smooth canvas for the stain to adhere to. Once you’ve sanded, wipe away the dust with a damp cloth. Now, it’s time to unleash the magic of wood stain. Choose a shade that complements your kitchen’s vibe—maybe a rich walnut or a light honey finish. Apply it evenly with your brush, and watch as the oak grain comes to life!
After the stain dries, seal the deal with a protective coat. This is like putting on a raincoat before heading out; it keeps your cabinets safe from spills and scratches. Once everything is dry, reattach the doors and hardware, and voilà! You’ve just transformed your kitchen into a stunning space that feels brand new. Who knew refinishing could be this rewarding?
Budget-Friendly Makeover: Refinishing Oak Cabinets for a Fresh New Look
Imagine walking into your kitchen and feeling like you’ve stepped into a brand-new space. That’s the magic of refinishing! It’s like giving your cabinets a spa day. First, you’ll want to gather your supplies: sandpaper, wood stain, and a good quality sealant. Think of it as prepping for a fun DIY project rather than a chore.
Start by removing the cabinet doors and hardware. This is where the fun begins! Sanding down the old finish might seem tedious, but it’s like peeling away the layers of an onion to reveal the fresh, vibrant wood underneath. Once you’ve smoothed everything out, it’s time to choose your stain. Do you want a rich espresso for a modern vibe, or maybe a light, airy finish for that farmhouse feel? The choice is yours!
After applying the stain, let it dry and then seal the deal with a protective coat. This step is crucial; it’s like putting on sunscreen before heading out to the beach. You want your cabinets to shine and last!
Reattaching the doors and hardware is the final touch. Stand back and admire your handiwork. It’s incredible how a little effort can transform your space. So, roll up your sleeves and get ready to fall in love with your kitchen all over again!
Frequently Asked Questions
What steps are involved in the refinishing process?
The refinishing process typically involves several key steps: first, the surface is cleaned and prepared by removing old finishes and imperfections. Next, any necessary repairs are made to ensure a smooth surface. After preparation, a new finish is applied, which may include staining or sealing. Finally, the surface is polished or buffed to achieve the desired look and durability.
What materials do I need to refinish oak kitchen cabinets?
To refinish oak kitchen cabinets, you will need sandpaper (various grits), wood stain or paint, a clear topcoat (like polyurethane), a paintbrush or roller, a clean cloth, and a paint stripper if removing old finishes. Additionally, having a drop cloth, painter’s tape, and safety gear (gloves and mask) is recommended for protection and cleanliness.
How do I prepare oak cabinets for refinishing?
To prepare oak cabinets for refinishing, start by removing all hardware and doors. Clean the surfaces thoroughly with a degreaser to eliminate grease and dirt. Sand the cabinets to remove the old finish and create a smooth surface, using progressively finer sandpaper. Fill any dents or scratches with wood filler, then sand again for a seamless finish. Finally, wipe down the cabinets with a damp cloth to remove dust before applying the new finish.
What finishes work best for oak cabinets?
For oak cabinets, finishes that enhance the natural grain and color are ideal. Popular options include oil-based polyurethane for durability and a warm tone, water-based polyurethane for a clear, non-yellowing finish, and gel stains for rich color without overwhelming the wood’s texture. Consider matte or satin sheens for a modern look, while gloss finishes can add a touch of elegance.
How long does it take to refinish oak kitchen cabinets?
Refinishing oak kitchen cabinets typically takes between 3 to 7 days, depending on the size of the kitchen, the condition of the cabinets, and the refinishing method used. This process includes preparation, sanding, staining or painting, and sealing, with drying times affecting the overall duration.
