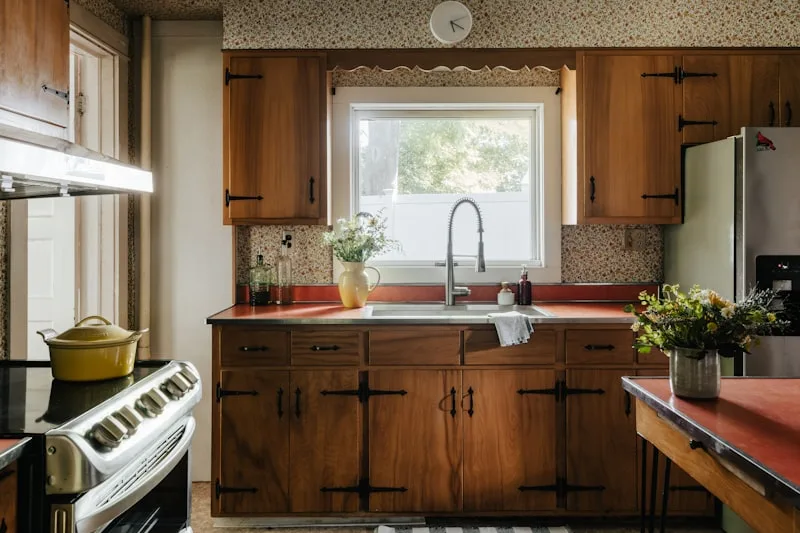
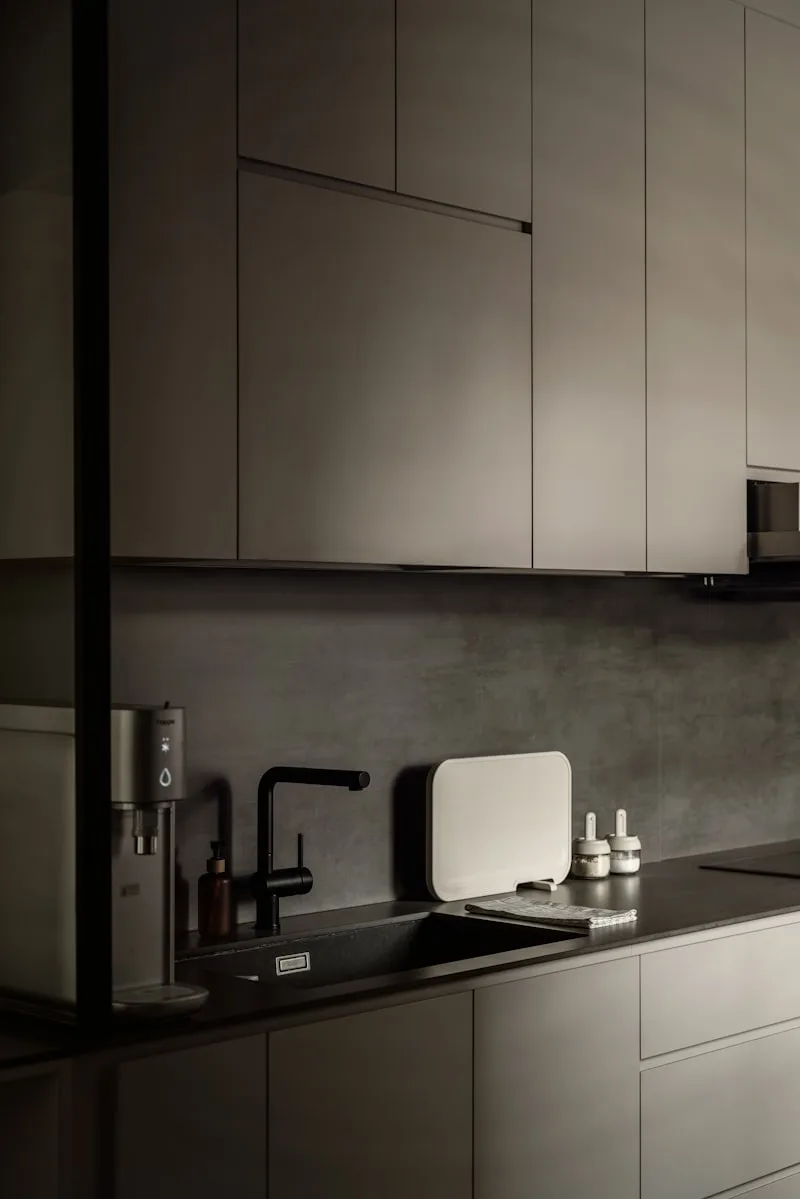
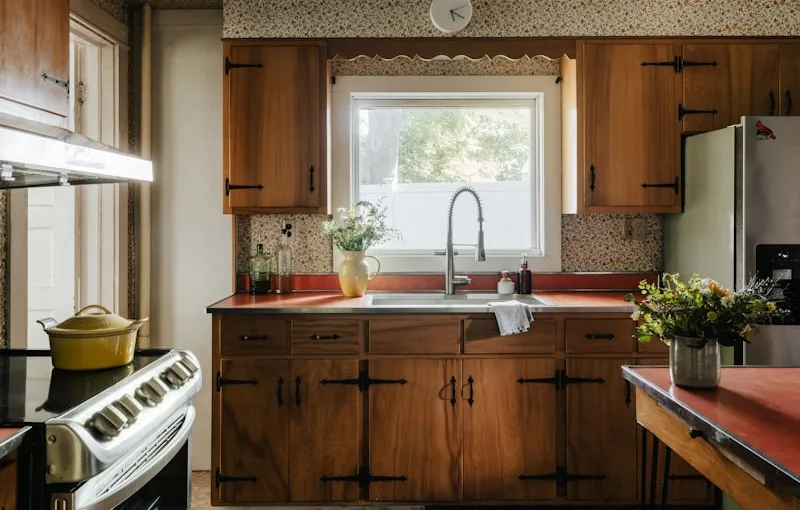
First things first, clear out your cabinets. Imagine trying to cook in a kitchen full of clutter; it’s just not going to work, right? Take everything out, and give those shelves a good wipe down. You want a clean slate, free of dust and grease. Speaking of grease, grab some degreaser and a sponge. Your cabinets have probably seen a lot of cooking action, so this step is crucial.
Next up, it’s time to remove the hardware. Think of it like taking off your shoes before stepping onto a clean floor. Unscrew those knobs and hinges, and keep them in a labeled bag so you don’t lose any pieces. Now, if your cabinets have any old paint or a glossy finish, you’ll want to sand them down. This isn’t just busywork; it helps the new paint stick like glue. Use a fine-grit sandpaper and give them a light scuff.
After sanding, wipe everything down again to remove any dust. You wouldn’t want that sneaky dust ruining your masterpiece, would you? Finally, apply a primer. It’s like putting on a base layer of makeup before the big reveal. A good primer will help your paint adhere better and enhance the color.


Now you’re all set to unleash your creativity! With these prep steps, you’ll be well on your way to transforming your kitchen cabinets into a work of art.
Transform Your Space: Essential Steps to Prep Your Kitchen Cabinets for a Fresh Coat of Paint
First things first, clear everything out. Imagine trying to cook in a cluttered kitchen—chaos, right? So, remove all the dishes, pots, and pans from your cabinets. This not only gives you a clean slate but also prevents any accidental paint splatters on your favorite cookware.
Next up, it’s time to clean those cabinets. Dust, grease, and grime can be sneaky little culprits that ruin your paint job. Grab a mixture of warm water and mild detergent, and give those surfaces a good scrub. Think of it as giving your cabinets a spa day—refreshing and rejuvenating!
Once they’re squeaky clean, it’s time to sand. This step is like prepping a canvas before painting; it ensures the paint adheres properly. Use a fine-grit sandpaper to lightly scuff the surface. Don’t worry; you’re not trying to strip the wood, just creating a texture for the paint to grab onto.
Now, let’s talk about priming. Think of primer as the foundation of a house; it sets the stage for everything that follows. Apply a quality primer to seal the wood and prevent any stains from bleeding through. This step is crucial, especially if you’re switching from a dark to a light color.
Finally, it’s time to paint! Choose a high-quality paint that suits your style—whether it’s a bold hue or a soft pastel. With these essential steps, you’re well on your way to transforming your kitchen cabinets into a stunning focal point of your home.
From Drab to Fab: The Ultimate Guide to Preparing Kitchen Cabinets for Painting
First things first, you need to clear out the clutter. Empty those cabinets like you’re packing for a move! This not only gives you a clean slate but also makes it easier to work. Next, grab a good degreaser. Kitchens can get greasy, and you want your paint to stick like glue. Give those surfaces a thorough wipe-down, and don’t skip the nooks and crannies—those little spots can be sneaky!
Now, let’s talk about sanding. Think of it as giving your cabinets a mini spa day. Lightly sand the surfaces to create a rough texture for the paint to cling to. It’s like giving your cabinets a fresh coat of skin! After sanding, wipe away the dust with a damp cloth. You want a clean surface, not a sandy beach.
Once your cabinets are clean and smooth, it’s time for primer. This step is crucial! Primer acts like a protective shield, ensuring your paint job lasts longer and looks better. Choose a high-quality primer that suits your cabinet material. Apply it evenly, and let it dry completely.
Finally, you’re ready to paint! Choose a color that speaks to you—something that makes your heart sing every time you walk into the kitchen. With a little patience and creativity, those drab cabinets will transform into a fab focal point of your home. So, roll up your sleeves and get ready to unleash your inner DIY diva!
Ready, Set, Paint! Expert Tips for Prepping Your Kitchen Cabinets Like a Pro
Now, let’s talk about cleaning. Your cabinets have probably seen a lot of action, from splattered sauces to greasy fingerprints. Grab that degreaser and give them a thorough scrub. It’s like giving your cabinets a refreshing shower before the big makeover. Once they’re squeaky clean, it’s time to sand. This step is like prepping the canvas; it helps the paint stick better. Use a fine-grit sandpaper and gently scuff the surface. Don’t worry; you’re not trying to create a rough texture—just enough to give the paint something to hold onto.
Next up is priming. Think of primer as the foundation of a house; it ensures everything built on top is solid and long-lasting. Apply a coat of primer and let it dry completely. This step is crucial, especially if you’re switching from a dark to a light color. It’s like putting on a base layer of makeup—essential for a flawless finish!
Don’t Skip This Step: The Importance of Proper Preparation Before Painting Kitchen Cabinets
First off, cleaning your cabinets is non-negotiable. Imagine trying to paint over grease and grime—yikes! It’s like trying to write on a dirty chalkboard. A good scrub with a degreaser will ensure that your paint adheres properly, giving you that smooth, flawless finish you’re dreaming of.
Next, let’s talk about sanding. I know, it sounds tedious, but think of it as giving your cabinets a mini spa day. Sanding creates a rough surface that helps the paint stick like glue. Plus, it smooths out any imperfections, making your cabinets look brand new. Who doesn’t want that?
Now, don’t forget about priming! This step is like putting on a good foundation before applying makeup. A quality primer not only enhances the paint’s color but also prevents it from chipping and peeling down the line. It’s the secret sauce that makes all the difference.
Lastly, consider the environment. Make sure you’re working in a well-ventilated area. It’s like opening a window on a sunny day; it just makes everything better. Proper preparation isn’t just about the cabinets; it’s about creating a safe and enjoyable space for you to work in.
So, before you grab that paintbrush, remember: preparation is key. It’s the difference between a DIY disaster and a stunning kitchen transformation. Are you ready to roll up your sleeves and get started?
Frequently Asked Questions
How Do I Clean Kitchen Cabinets Before Painting?
To prepare kitchen cabinets for painting, start by removing all items and hardware. Clean surfaces with a degreaser or a mixture of warm water and mild soap to eliminate grease and dirt. Rinse with clean water and dry thoroughly. For best results, lightly sand the surfaces to create a smooth base for the paint. Wipe down with a damp cloth to remove dust before applying primer and paint.
What Supplies Do I Need to Prep Kitchen Cabinets for Painting?
To prepare kitchen cabinets for painting, you will need the following supplies: a screwdriver for removing hardware, a degreaser or cleaner to remove grease and dirt, sandpaper or a sanding block for smoothing surfaces, a vacuum or cloth for dust removal, painter’s tape to protect edges, and a primer suitable for cabinetry. Additionally, have a paintbrush and roller ready for applying the paint.
What Primer Should I Use for Kitchen Cabinet Painting?
For kitchen cabinet painting, use a high-quality bonding primer designed for glossy surfaces. This type of primer ensures better adhesion of paint, prevents peeling, and enhances durability. Look for primers labeled as stain-blocking or specifically formulated for cabinets to achieve a smooth, long-lasting finish.
Should I Sand Kitchen Cabinets Before Painting?
Sanding kitchen cabinets before painting is essential for achieving a smooth and durable finish. It helps to remove any existing finish, creates a better surface for paint adhesion, and minimizes imperfections. Proper sanding ensures that the new paint adheres well and lasts longer, resulting in a professional-looking outcome.
How Do I Fill Holes and Imperfections in Cabinets?
To fill holes and imperfections in cabinets, start by cleaning the area thoroughly. Use wood filler or putty to fill the holes, applying it with a putty knife for a smooth finish. Allow it to dry completely, then sand the area until it’s flush with the surrounding surface. Finally, touch up with paint or stain to match the cabinet’s finish.
