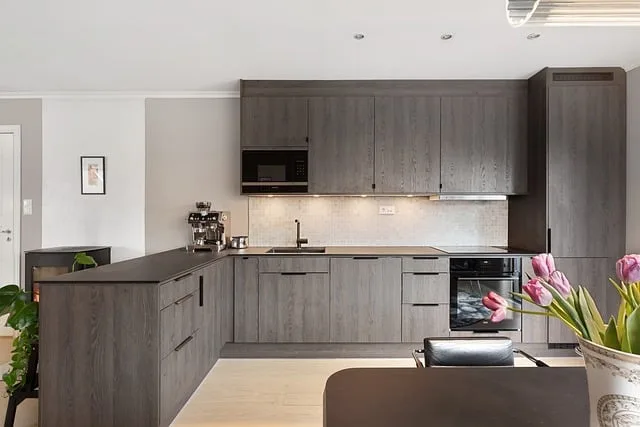
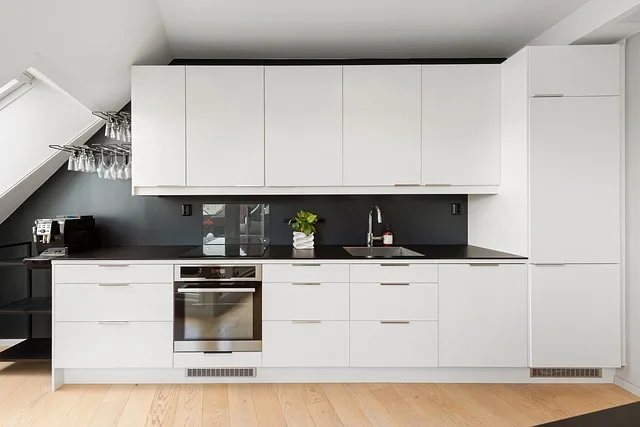
First things first, gather your tools. You’ll need a drill, a screwdriver, a measuring tape, and a level. Think of these tools as your trusty sidekicks on this DIY adventure. Now, before you start drilling holes like a mad scientist, take a moment to measure where you want those handles to go. A little planning goes a long way! Measure the distance between the holes on your handles and mark those spots on your cabinets.
Now, here’s where the magic happens. Grab your drill and carefully create holes at the marked spots. It’s like making a doorway for your new handles to shine! If you’re feeling a bit nervous about drilling, just remember: slow and steady wins the race.
Once the holes are ready, it’s time to attach the handles. Align the handle with the holes and use your screwdriver to secure it in place. It’s like giving your cabinets a stylish new outfit! Make sure everything is tight but not overly so—nobody wants a handle that’s too stiff to pull.
As you install each handle, step back and admire your work. It’s amazing how such a small change can make a big impact! If you’re installing multiple handles, keep checking that they’re level. A crooked handle can be like a bad hair day—just not a good look!

So, roll up your sleeves, put on some music, and let’s make those cabinets pop with personality! You’ll be amazed at how a little hardware can elevate your kitchen’s vibe.
Transform Your Kitchen: A Step-by-Step Guide to Installing Cabinet Handles
First things first, gather your tools. You’ll need a screwdriver, a measuring tape, and maybe a level if you’re feeling fancy. Choosing the right handles is crucial—think of them as the jewelry of your kitchen. Whether you prefer sleek stainless steel or rustic bronze, pick something that reflects your style.
Once you’ve got your handles, it’s time to measure. This is where precision comes into play. Measure the distance between the screw holes on your new handles and mark the spots on your cabinets. A little tip: use a pencil for marking; it’s easy to erase if you make a mistake.

Now, let’s get to the fun part—drilling! If you’re replacing old handles, you might already have holes. If not, don’t sweat it. Just drill carefully where you marked. It’s like creating a new path in your kitchen journey.
Next, align your handles with the holes and screw them in. This is where you can channel your inner DIY guru. Tighten them just enough so they’re secure but not so tight that they’re hard to turn.
Finally, step back and admire your handiwork! It’s amazing how such a small change can make a big impact. Your kitchen will feel refreshed, and you’ll have the satisfaction of knowing you did it yourself. So, are you ready to grab those tools and get started?
Handle with Care: Expert Tips for Perfectly Installing Kitchen Cabinet Hardware
First off, measure twice, install once. Seriously, nothing is worse than drilling holes in the wrong spot. Grab a measuring tape and a pencil, and mark where you want your hardware to go. Think of it like laying the foundation for a house; if the base is off, everything else will be too.
Next, consider the height. You want your cabinet hardware to be comfortable to use, right? A good rule of thumb is to install pulls about 2.5 to 3 inches from the bottom of the upper cabinets. It’s like finding the sweet spot for a comfy chair—too high or too low, and it just doesn’t feel right.
Now, let’s talk about alignment. Ever seen a crooked picture frame? It’s the same with cabinet hardware. Use a level to ensure everything is straight. It’s a small step that makes a huge impact. Plus, it’ll save you from the headache of redoing it later.
Lastly, don’t forget about the finish. Whether you’re going for sleek stainless steel or rustic bronze, make sure your hardware complements your kitchen’s style. Think of it as choosing the right outfit for a big event; you want to look good and feel good!
So, roll up your sleeves and get ready to transform your kitchen with these simple yet effective tips. You’ll be amazed at how a little hardware can elevate your space!
DIY Delight: Mastering the Art of Kitchen Cabinet Handle Installation
First off, gather your tools. You’ll need a drill, a screwdriver, a measuring tape, and of course, your fabulous new handles. Think of this as your treasure map; each tool is a step closer to your shiny prize. Now, let’s talk measurements. You wouldn’t want to hang a picture crooked, would you? The same goes for your handles. Measure twice, drill once! Mark where each handle will go, ensuring they’re evenly spaced. This is where the magic begins!
Next, it’s time to drill. Don’t fret; it’s not as scary as it sounds! Picture yourself as a sculptor, chiseling away to reveal a masterpiece. As you drill, feel the excitement build—each hole is a step toward a more beautiful kitchen. Once you’ve made those holes, it’s time to attach the handles. Just like putting the cherry on top of a sundae, this is the finishing touch that brings everything together.
Now, stand back and admire your handiwork. It’s like giving your kitchen a fresh haircut—suddenly, it looks brand new! And the best part? You did it all by yourself. So, roll up those sleeves, unleash your inner DIY guru, and let’s make your kitchen the envy of the neighborhood! Who knew that a simple handle could make such a big difference?
From Drab to Fab: Elevate Your Kitchen with New Cabinet Handles
Imagine walking into your kitchen and feeling a rush of excitement instead of dread. Swapping out those old, worn-out handles for sleek, modern ones can make a world of difference. It’s like putting on a fresh coat of paint or getting a new haircut—suddenly, everything feels revitalized! You don’t need to be a DIY expert to pull this off; even a novice can tackle this project in an afternoon.
Think about it: those little handles are the jewelry of your kitchen. Just as a stunning necklace can elevate a simple outfit, the right cabinet handles can transform your cabinetry from bland to beautiful. Whether you prefer a minimalist vibe with brushed nickel or a rustic charm with antique bronze, there’s a style out there that will speak to you.
And let’s not forget about functionality! New handles can improve your grip, making it easier to open those heavy drawers filled with pots and pans. It’s like upgrading from a flip phone to the latest smartphone—everything just works better!
Frequently Asked Questions
Can I Install Cabinet Handles Without Professional Help?
Yes, you can install cabinet handles without professional help. With basic tools like a drill and a screwdriver, you can measure, mark, and securely attach handles to your cabinets. Following manufacturer instructions and using a level will ensure a professional-looking result.
What Tools Do I Need to Install Kitchen Cabinet Handles?
To install kitchen cabinet handles, you will need a few essential tools: a drill or screwdriver for fastening, a measuring tape for accurate placement, a level to ensure alignment, and a pencil for marking drill points. Additionally, a template can help streamline the process for multiple handles. Having these tools ready will make the installation efficient and precise.
How Do I Measure for Proper Handle Placement?
To ensure proper handle placement, measure the height from the floor to the point where the handle will be installed. Consider the user’s average reach and comfort level. For doors, handles are typically placed 36 to 48 inches from the floor. For cabinets, a height of 30 to 36 inches is common. Always test the placement by simulating use to confirm ease of access.
What Are the Steps to Install Kitchen Cabinet Handles?
To install kitchen cabinet handles, first gather your tools: a drill, screwdriver, measuring tape, and level. Measure and mark the desired position for the handles on the cabinet doors. Drill holes at the marked spots, ensuring they are straight and aligned. Insert the handles through the holes and secure them with screws from the back. Finally, check that the handles are firmly attached and level. Repeat for all cabinet doors.
How Do I Choose the Right Handles for My Cabinets?
Selecting the appropriate handles for your cabinets involves considering the style, size, and functionality. Match the handles to your kitchen or bathroom decor for a cohesive look. Ensure the size is comfortable for use and fits the cabinet dimensions. Additionally, choose materials that are durable and easy to maintain, while also reflecting your personal taste.