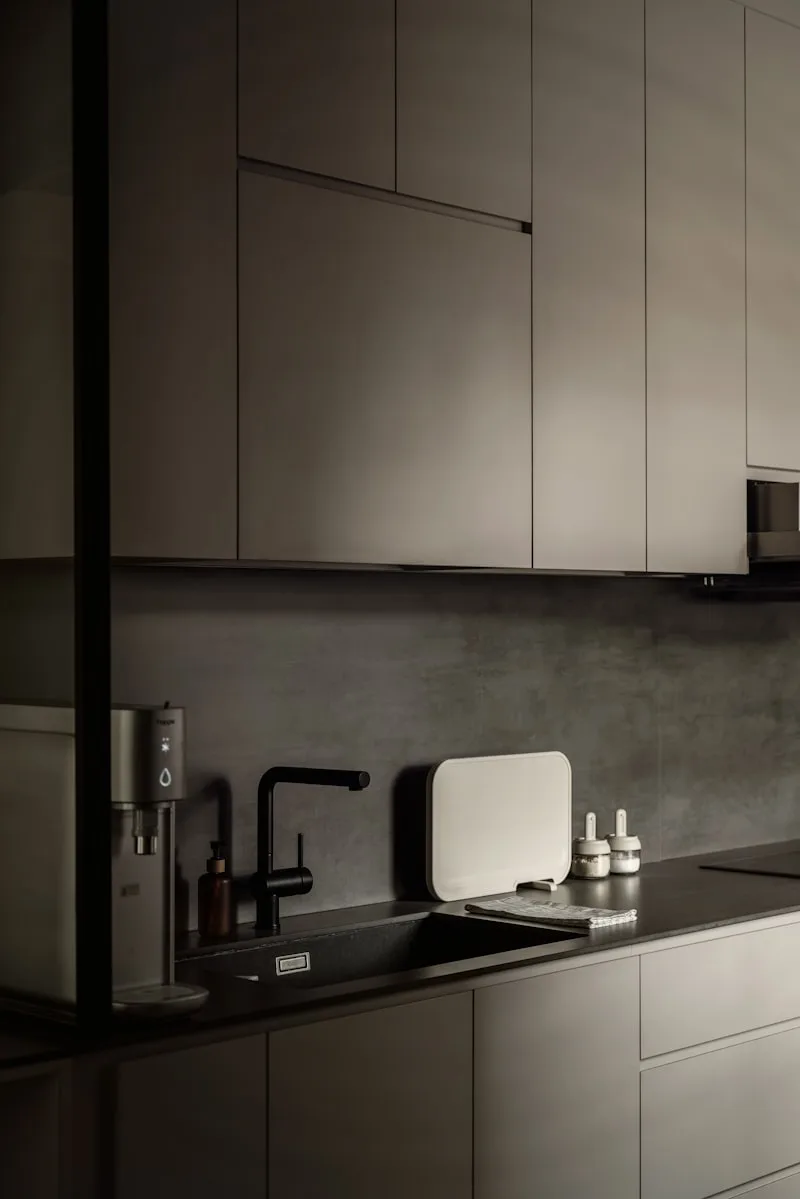
Start by laying out all your cabinets and parts. It’s like unwrapping a gift—exciting and a bit overwhelming! Check the instruction manual; IKEA’s got some pretty solid guides that are easy to follow. You’ll want to measure your space carefully. Think of it as mapping out a treasure hunt; every inch counts!
Once you’ve got your measurements, it’s time to hang those cabinets. Begin with the upper cabinets. Use a level to mark where they’ll go on the wall. This step is crucial—nobody wants a crooked kitchen! Secure the cabinets to the wall using screws, making sure they’re tightly fastened. It’s like anchoring a ship; you want it to stay put!
Next, move on to the base cabinets. These are the sturdy foundation of your kitchen. Assemble them according to the instructions, and don’t forget to attach the legs. It’s like giving your cabinets a solid pair of shoes! Once they’re in place, connect them to each other and to the wall for extra stability.
Now comes the fun part—adding the countertops and doors. This is where your kitchen starts to come alive! Attach the doors with the provided hinges, and adjust them until they’re just right. It’s like dressing your cabinets in their Sunday best!

Throughout the process, keep your workspace tidy. A clean area helps you think clearly and avoid losing those tiny screws. And remember, if you hit a snag, don’t hesitate to consult the IKEA website or YouTube for extra tips. You’ve got this!
Transform Your Space: A Step-by-Step Guide to Installing IKEA Kitchen Cabinets
First things first, gather your tools. You’ll need a drill, a level, a measuring tape, and a friend (because let’s be honest, lifting those cabinets alone is like trying to juggle flaming torches). Once you’ve got your gear, it’s time to measure your space. Think of it as laying the groundwork for a masterpiece. Measure twice, cut once—this old adage rings true here!
Next, assemble your cabinets. IKEA’s instructions might seem like a puzzle at first, but once you get the hang of it, it’s like putting together a giant LEGO set. Just remember to keep your screws and dowels organized; you don’t want to be hunting for that one elusive piece halfway through.
Now comes the fun part: hanging the cabinets. Start with the upper cabinets, as they’ll give you a solid reference point for the lower ones. Use a level to ensure everything is straight—nobody wants a crooked kitchen! Secure them to the wall studs for stability, and voilà, you’re already halfway there.
Once the upper cabinets are in place, it’s time to install the lower ones. This is where you can really let your creativity shine. Consider adding a pop of color or unique hardware to make your kitchen truly yours. It’s like adding the cherry on top of a delicious sundae!
DIY Delight: Mastering the Art of IKEA Kitchen Cabinet Installation
First off, let’s talk about the beauty of IKEA cabinets. They’re not just functional; they’re like a blank canvas waiting for your personal touch. With a variety of styles and finishes, you can create a space that reflects your personality. But here’s the kicker: installing them yourself can save you a ton of cash. Who doesn’t love that?
Now, before you roll up your sleeves, it’s crucial to plan. Measure your space like a pro—trust me, you don’t want to end up with cabinets that don’t fit. Grab a notepad and jot down your measurements. Think of it as sketching the blueprint of your dream kitchen.
Once you’ve got your measurements, it’s time to gather your tools. You’ll need a level, a drill, and maybe a friend to help you lift those cabinets. It’s like assembling a puzzle, and having a buddy makes it way more fun!
When you start the installation, remember to take it step by step. Begin with the upper cabinets, ensuring they’re level and securely fastened. It’s like building a solid foundation for a house; everything else will fall into place if you get this right.
As you work, don’t hesitate to customize. Add some unique handles or a splash of paint to make those cabinets truly yours. It’s your kitchen, after all! So, roll up those sleeves, embrace the challenge, and let the DIY delight begin!
From Flatpack to Fabulous: Your Ultimate IKEA Kitchen Cabinet Installation Guide
First things first, let’s talk about the assembly. IKEA cabinets come with a reputation for being a puzzle, but think of it as a fun challenge rather than a chore. Grab your trusty screwdriver and a friend (or a family member who owes you a favor), and dive into the instructions. Lay out all the pieces like a treasure map, and you’ll see how everything fits together. It’s like building a LEGO masterpiece—just with a bit more adulting involved!
Now, once you’ve got those cabinets assembled, it’s time for the installation. Measure twice, cut once—this old adage rings true here. Make sure your walls are level; otherwise, your cabinets might end up looking like they’re on a tilt-a-whirl ride. Use a level to ensure everything is straight, and don’t skip the wall anchors. They’re the unsung heroes that keep your cabinets securely in place, preventing any unfortunate mishaps.
As you hang those cabinets, think of them as the framework of your kitchen’s personality. Choose the right hardware to match your style—sleek handles for a modern vibe or rustic knobs for a cozy feel. It’s all about making your kitchen reflect who you are. And remember, take your time! Rushing through the process can lead to mistakes, and nobody wants a crooked cabinet ruining their culinary kingdom.
Unlock the Secrets: Expert Tips for a Flawless IKEA Kitchen Cabinet Setup
First off, planning is your best friend. Before you even think about assembling those cabinets, grab a piece of paper and sketch out your kitchen layout. Think of it like a treasure map; you want to know where every piece fits before you start digging. Measure your space accurately—trust me, a few inches can make a world of difference.
Next, let’s talk about the assembly. IKEA cabinets come with a reputation for being a bit tricky, but don’t let that scare you! Think of it as a puzzle; each piece has its place. Follow the instructions step by step, and don’t rush. If you hit a snag, take a breather. Sometimes, stepping back can give you a fresh perspective.
Now, here’s a pro tip: use a level! Nothing screams “DIY disaster” like crooked cabinets. A level ensures that everything is aligned perfectly, giving your kitchen that polished look. And while you’re at it, consider adding soft-close hinges. They’re like the cherry on top, making your cabinets feel luxurious and quiet.
Lastly, don’t forget about lighting. Under-cabinet lights can turn your kitchen into a cozy, inviting space. It’s like adding a warm hug to your cooking area. So, are you ready to roll up your sleeves and create the kitchen of your dreams? With these tips, you’ll be well on your way to a stunning IKEA cabinet setup that will leave your friends in awe!
IKEA Kitchen Cabinets Made Easy: A Beginner’s Guide to Installation
First things first, gather your tools. You’ll need a drill, a level, a screwdriver, and maybe a friend or two to help you lift those cabinets. Think of it as assembling your own superhero team—everyone has a role to play! Once you’ve got your gear, it’s time to dive into the instructions. IKEA’s manuals are like treasure maps, guiding you step-by-step. Just remember, patience is key. If you hit a snag, take a breather and come back with fresh eyes.
Next up, let’s talk about measuring. You wouldn’t bake a cake without measuring the ingredients, right? The same goes for your cabinets. Measure your space carefully to ensure a perfect fit. It’s all about creating harmony in your kitchen, like a well-composed symphony. And don’t forget to mark where your studs are—this is where the magic happens when you secure those cabinets to the wall.
Now, when it comes to installation, start with the upper cabinets. It’s like hanging a picture; you want to get the top right before you tackle the bottom. Use a level to ensure everything is straight—nobody wants a crooked cabinet! And as you go, keep checking your progress. It’s like a game of Tetris; you want everything to fit just right.
Elevate Your Home: How to Seamlessly Install IKEA Kitchen Cabinets Like a Pro
First things first, let’s talk about preparation. Before you dive in, measure your space meticulously. Think of it like baking a cake; if you don’t have the right ingredients, the end result can be a disaster. Grab a tape measure and jot down your dimensions. This will help you choose the perfect cabinet sizes that fit your kitchen like a glove.
Next, gather your tools. You’ll need a level, a drill, and some screws—think of these as your trusty sidekicks on this DIY adventure. Once you have everything ready, it’s time to assemble those cabinets. IKEA’s instructions might seem like a puzzle at first, but trust me, it’s all part of the fun! Lay out the pieces and follow the steps like a treasure map leading you to your dream kitchen.
Now, here comes the exciting part: installation! Start with the upper cabinets, as they’re lighter and easier to maneuver. Use a level to ensure they’re straight—nobody wants a crooked cabinet, right? Secure them to the wall, and just like that, you’re on your way to a stunning kitchen transformation.
Frequently Asked Questions
Can I Install IKEA Kitchen Cabinets Without Professional Help?
Installing IKEA kitchen cabinets without professional help is possible for those with basic DIY skills. The process involves following the provided assembly instructions, ensuring proper measurements, and using the right tools. However, it may require time and patience to achieve a professional finish. Consider seeking assistance for heavy lifting or complex installations.
How Do I Secure IKEA Cabinets to the Wall?
To secure IKEA cabinets to the wall, locate the wall studs using a stud finder. Use the provided wall anchoring brackets, attaching them to the back of the cabinet. Position the cabinet against the wall, ensuring it is level, and then drill screws through the brackets into the wall studs. This will stabilize the cabinets and prevent tipping.
How Do I Measure for IKEA Kitchen Cabinets?
To measure for kitchen cabinets, start by measuring the width, height, and depth of the space where the cabinets will be installed. Use a tape measure to get accurate dimensions, noting any obstacles like windows or doors. Record the measurements in inches, and ensure to account for any plumbing or electrical fixtures. It’s essential to measure each section of the kitchen separately for precise fitting.
What is the Step-by-Step Process for Installing IKEA Cabinets?
To install IKEA cabinets, start by gathering all necessary tools and materials. Begin with assembling the cabinet boxes according to the provided instructions. Next, secure the cabinets to the wall using brackets for stability. Ensure they are level and aligned properly. Install the cabinet doors and hardware, followed by any additional features like shelves or drawers. Finally, finish with trim and adjustments to ensure everything is functional and aesthetically pleasing.
What Tools Do I Need to Install IKEA Kitchen Cabinets?
To install IKEA kitchen cabinets, you will need a few essential tools: a drill with drill bits, a level for ensuring cabinets are straight, a tape measure for accurate measurements, a screwdriver for assembly, a hammer for securing parts, and a stud finder to locate wall studs. Additionally, having a saw may be necessary for any custom cuts. These tools will help ensure a smooth and efficient installation process.
