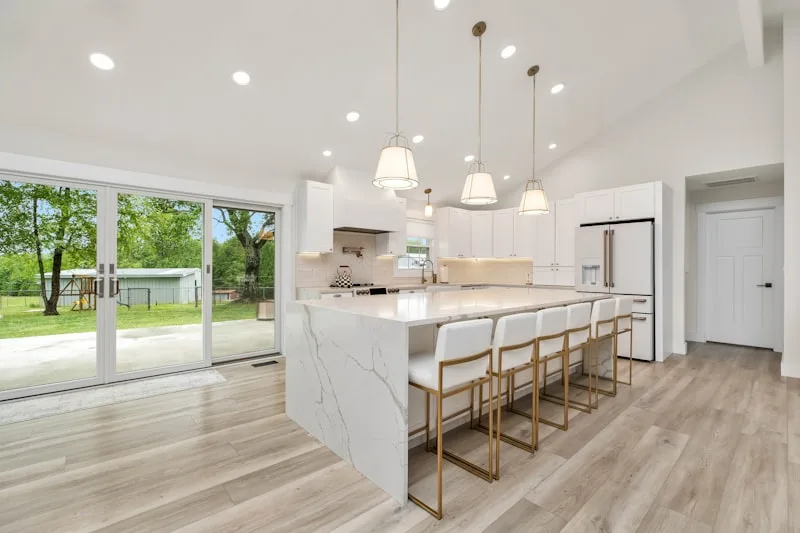
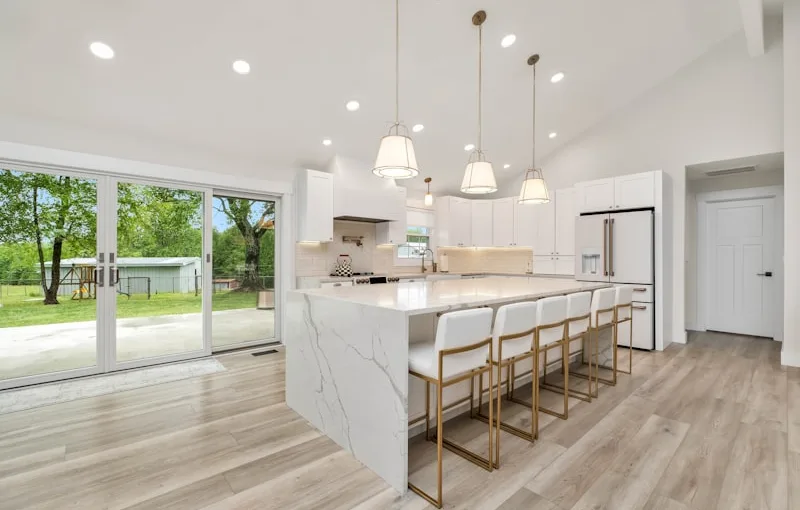
First, gather your tools. You’ll need a miter saw, a measuring tape, a level, and some adhesive or finishing nails. Think of these tools as your trusty sidekicks, ready to help you conquer this DIY project. Measure the top of your cabinets carefully; precision is key here. You wouldn’t want to cut your crown molding too short, would you?
Next, it’s time to cut the molding. Set your miter saw to a 45-degree angle for those corners. Picture this: you’re crafting a beautiful frame for your cabinets, and each cut is like a brushstroke on a canvas. Take your time, and don’t rush—this is where the magic happens.
Once you’ve got your pieces cut, it’s time to attach them. Start with the longest piece and work your way around. Use adhesive for a strong bond, and if you’re feeling extra secure, nail it in place. As you position each piece, use a level to ensure everything is straight. There’s nothing worse than a lopsided crown molding—it’s like wearing a hat that’s too big!
Finally, fill in any gaps with caulk or wood filler. This step is like putting the finishing touches on a masterpiece. Sand it down, paint or stain it to match your cabinets, and voilà! You’ve just elevated your kitchen’s style. So, are you ready to give your cabinets the crown they deserve?
Elevate Your Kitchen: A Step-by-Step Guide to Installing Crown Molding on Cabinets
First things first, gather your materials. You’ll need crown molding, a miter saw, a nail gun, wood glue, and a level. Think of these tools as your trusty sidekicks on this DIY adventure. Once you have everything, measure the top of your cabinets. This is where precision is key—like a chef measuring ingredients for a perfect recipe.
Next, cut your crown molding at a 45-degree angle. This might sound tricky, but it’s just like slicing a cake; you want those clean edges to fit together seamlessly. After cutting, dry-fit the pieces to ensure they align perfectly. If they don’t, don’t sweat it! A little adjustment goes a long way.
Now, it’s time to attach the molding. Apply wood glue to the back of the molding and press it against the cabinet. Use your nail gun to secure it in place. It’s like giving your cabinets a stylish hat—one that’s snug and looks fabulous!
Once everything is in place, fill any nail holes with wood filler and sand it down for a smooth finish. Finally, paint or stain the molding to match your cabinets. This step is like adding the final brush strokes to a masterpiece.
With just a bit of effort, you’ll transform your kitchen into a space that feels polished and inviting. So, roll up your sleeves and get ready to impress!
Crown Molding Magic: Transform Your Kitchen Cabinets with These Easy Installation Tips

First off, measuring is key. Think of it as the foundation of your crown molding masterpiece. Grab a tape measure and jot down the dimensions of your cabinets. This step is crucial because, just like baking a cake, you don’t want to skip the measurements and end up with a lopsided result! Once you have your measurements, it’s time to choose your molding. There are so many styles out there, from classic to modern. Pick one that resonates with your kitchen’s vibe.
Now, let’s talk installation. Don’t let the thought of cutting angles scare you! A miter saw is your best friend here. It’s like having a magic wand that helps you create those perfect corners. Just remember to take your time and double-check your cuts. A little patience goes a long way!
When it comes to attaching the molding, a nail gun can make the process a breeze. It’s like having superpowers—quick and efficient! Just make sure to secure it well, so it stays put for years to come. And don’t forget to fill in any gaps with caulk; it’s the secret sauce that gives your project that polished look.
From Drab to Fab: How to Install Crown Molding on Your Kitchen Cabinets Like a Pro
First things first, gather your materials. You’ll need crown molding, a miter saw, a nail gun (or hammer and finishing nails), wood glue, and a measuring tape. Think of these tools as your trusty sidekicks on this home improvement adventure. Measure the top of your cabinets carefully; precision is key here. It’s like measuring for a new pair of shoes—get it right, and you’ll walk away with a perfect fit!
Next, cut your crown molding at a 45-degree angle. This might sound tricky, but it’s just like cutting a pizza—once you get the hang of it, you’ll be slicing through it like a pro. Once your pieces are cut, it’s time to attach them. Apply a bit of wood glue to the back of the molding, press it against the cabinet, and secure it with your nail gun. If you’re using a hammer, just tap those nails in gently—no need to go all Hulk on it!
Finally, fill in any gaps with caulk and paint the molding to match or contrast with your cabinets. It’s like adding the final touches to a masterpiece. With just a little effort, you’ll transform your kitchen from drab to fab, making it the envy of all your friends!
DIY Delight: Mastering the Art of Crown Molding Installation for Kitchen Cabinets
First off, let’s talk about the materials. You’ll need some crown molding, of course, along with a miter saw, a nail gun, and wood glue. Think of these tools as your trusty sidekicks on this home improvement adventure. When choosing your crown molding, consider the style of your kitchen. Are you going for a modern vibe or something more traditional? The right molding can transform your space from drab to fab in no time.
Now, let’s get to the fun part: installation! Start by measuring the top of your cabinets. It’s like taking the perfect selfie—get those angles right! Once you’ve got your measurements, cut the molding at a 45-degree angle for those seamless corners. It’s all about precision here; a little mistake can throw off the whole look.
When you’re ready to attach the molding, use your nail gun to secure it in place. It’s like giving your cabinets a stylish hat! Don’t forget to fill in any gaps with wood filler for that polished finish. And voilà! You’ve just elevated your kitchen’s aesthetic without breaking the bank.
So, are you ready to roll up your sleeves and dive into this DIY delight? With a bit of creativity and elbow grease, you’ll be amazed at how crown molding can transform your kitchen cabinets into a work of art.
Frequently Asked Questions
How Do I Cut Crown Molding for Kitchen Cabinets?
To cut crown molding for kitchen cabinets, first measure the angles and lengths needed for your specific installation. Use a miter saw set to the appropriate angle, typically 45 degrees for corners. Make precise cuts, ensuring the molding is positioned correctly in the saw for accurate angles. Test fit the pieces before final installation to ensure a snug fit, and make any necessary adjustments.
What Are the Steps to Install Crown Molding on Kitchen Cabinets?
To install crown molding on kitchen cabinets, first measure the cabinet tops to determine the length of the molding needed. Cut the molding at a 45-degree angle for corners. Secure the molding to the cabinets using a nail gun or adhesive, ensuring it fits snugly against the wall and cabinets. Fill any gaps or nail holes with wood filler, then sand and paint or stain as desired for a finished look.
What Type of Crown Molding is Best for Kitchen Cabinets?
When selecting crown molding for kitchen cabinets, consider materials like wood or medium-density fiberboard (MDF) for durability and aesthetics. Opt for styles that complement your kitchen’s design, such as traditional, modern, or farmhouse. The best choice balances visual appeal with functionality, ensuring it enhances the overall look while being easy to maintain.
How Do I Measure for Crown Molding on Kitchen Cabinets?
To measure for crown molding on kitchen cabinets, start by determining the height and depth of the cabinets. Use a measuring tape to find the width of each cabinet section where the molding will be installed. Measure from the top of the cabinet to the ceiling to ensure a snug fit. Record all measurements carefully, accounting for any angles or corners. This will help you cut the molding accurately for a professional finish.
What Tools Do I Need to Install Crown Molding on Kitchen Cabinets?
To install crown molding on kitchen cabinets, you will need a miter saw for precise angle cuts, a measuring tape for accurate lengths, a level to ensure straight installation, a nail gun or hammer for securing the molding, wood glue for added stability, and a caulk gun for finishing touches. Additionally, having safety goggles and a dust mask is recommended for protection during the process.
