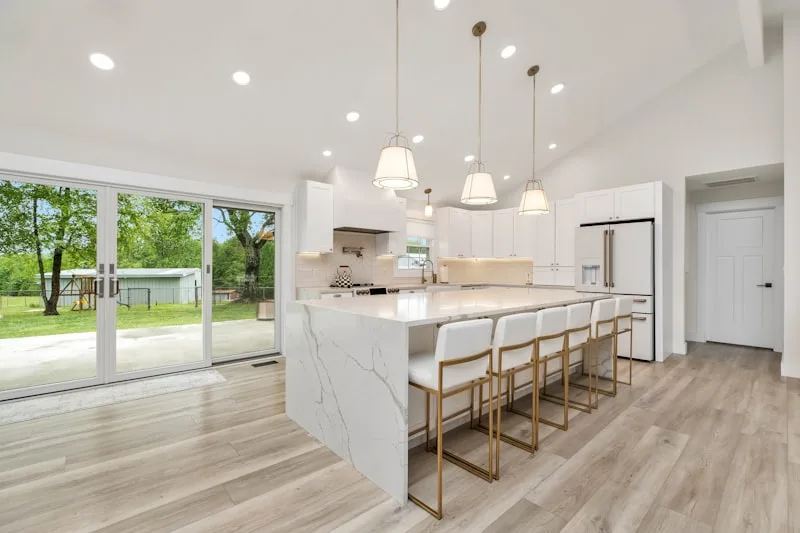
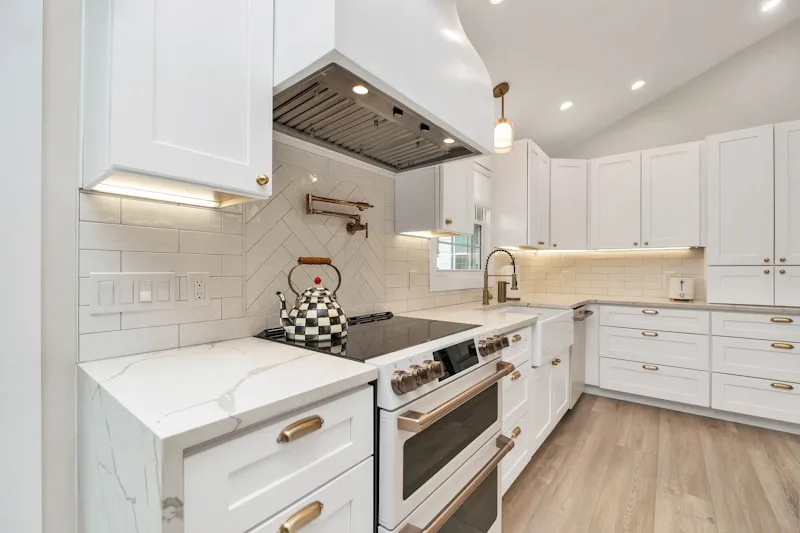
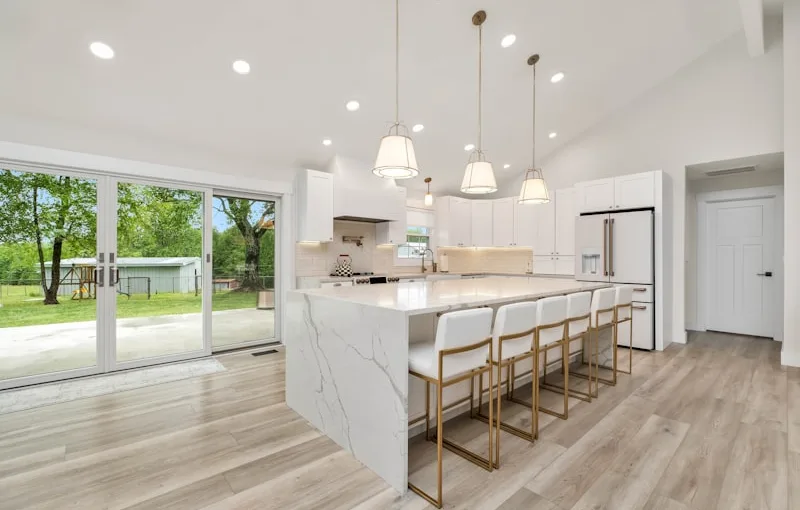
First things first, you’ll want to measure your kitchen. Think of it like finding the perfect pair of jeans; you need the right fit! Aim for an island that’s about 4 feet long and 2 feet wide, giving you enough space for cabinets and seating without crowding your kitchen. Once you’ve got your dimensions, sketch out a design. This is where your creativity can shine!
Next, gather your materials. You’ll need sturdy plywood for the base, some stylish cabinet doors, and a countertop that suits your taste—granite, butcher block, or even a sleek laminate. It’s like choosing the perfect icing for your cake; it can make all the difference!
Now, let’s talk about assembly. Start by building the frame of your island. Think of it as constructing a solid foundation for a house; everything else will rest on this. Secure the cabinets to the frame, ensuring they’re level and sturdy. This is where you can get creative with storage—think pull-out drawers for pots and pans or shelves for cookbooks.
Once the cabinets are in place, it’s time to add seating. You can attach a countertop overhang for bar stools, creating a cozy spot for casual meals. Picture this: a sunny morning, coffee in hand, and your loved ones gathered around.
Finally, don’t forget the finishing touches! Paint or stain the wood to match your kitchen’s vibe, and add some decorative elements like pendant lights or a centerpiece. It’s all about making it feel like home. With a little effort and creativity, your kitchen island will be the heart of your home, where memories are made and meals are shared.
Transform Your Kitchen: A Step-by-Step Guide to Building the Perfect Island with Cabinets and Seating
First things first, you need to measure your space. Think of your kitchen as a canvas; you wouldn’t start painting without knowing the dimensions! Measure the area where you want your island to sit, ensuring there’s enough room for people to move around comfortably. A good rule of thumb is to leave at least 36 inches of walking space around the island.
Next, let’s talk about design. Do you want a sleek modern look or a cozy farmhouse vibe? Sketch out your ideas or use design software to visualize your dream island. Consider incorporating cabinets for storage—think of them as the hidden superheroes of your kitchen, keeping everything organized and out of sight.
Now, onto the seating! Picture this: friends gathered around your island, sipping coffee and sharing stories. Choose bar stools or chairs that complement your island’s style. Make sure they’re comfortable and the right height—nobody wants to be perched uncomfortably while enjoying a meal!
Once you’ve nailed down the design, it’s time to gather your materials. Whether you’re going for a butcher block top or a sleek granite finish, choose materials that are durable and easy to clean. After all, a kitchen island is bound to see a lot of action!
From Concept to Creation: How to Design and Build a Functional Kitchen Island
First off, think about what you want your kitchen island to do. Is it a prep station, a casual dining spot, or maybe a place for your kids to do homework while you whip up dinner? Visualize its purpose, and let that guide your design. Picture it as the Swiss Army knife of your kitchen—versatile and indispensable.
Next, let’s talk about size and layout. You wouldn’t want a massive island crammed into a tiny kitchen, right? Measure your space and consider the flow of movement. You want it to enhance your kitchen, not make it feel cramped. Think of it as a dance floor; everyone should have room to move without stepping on each other’s toes.

Now, onto materials. The countertop is like the icing on the cake. Do you prefer the sleekness of quartz, the warmth of wood, or the durability of granite? Each material has its own vibe, so choose one that resonates with your style. And don’t forget about storage! Incorporating cabinets or shelves can turn your island into a functional powerhouse, keeping your kitchen organized and clutter-free.
Maximize Space and Style: Tips for Crafting a Kitchen Island with Built-In Seating
First off, let’s talk about layout. You want your island to be functional, right? Think about the flow of your kitchen. Position your island where it can easily connect with your cooking area and dining space. It’s like creating a dance floor where everyone can mingle without stepping on each other’s toes.
Next, consider the seating. Bar stools or cushioned benches? The choice is yours! Just make sure they complement your island’s design. If your island has a modern vibe, sleek stools can add that chic touch. On the other hand, if you’re going for a rustic feel, a wooden bench can bring warmth and charm.
Now, let’s not forget about storage. Built-in seating can double as a clever storage solution. Think of it as a treasure chest! You can tuck away cookbooks, extra utensils, or even board games for family nights. It’s all about keeping your space tidy while adding a dash of personality.
Lighting is another key player in this game. Pendant lights hanging above your island can create a cozy atmosphere, making it the perfect spot for morning coffee or late-night chats. It’s like setting the stage for your kitchen’s very own show!
So, are you ready to transform your kitchen into a stylish and functional space? With a little creativity and planning, your kitchen island can become the heart of your home, where style meets practicality in the most delightful way.
DIY Delight: Create Your Dream Kitchen Island with Cabinets and Cozy Seating

Creating your dream kitchen island with cabinets and cozy seating is like crafting a masterpiece. First, think about the layout. Do you want a large, sprawling island or a compact one that fits snugly in your space? Measure your kitchen to find the perfect dimensions. Once you have that down, it’s time to choose your materials. You can go for sleek, modern cabinets or rustic wooden ones—whatever suits your style!
Now, let’s talk about seating. Picture this: a few comfy bar stools lined up against your island, inviting everyone to pull up a seat. You can even add cushions for that extra touch of coziness. When selecting seating, consider the height of your island. You want your guests to feel relaxed, not like they’re perched on a high stool at a bar!
Next, think about the color scheme. A fresh coat of paint can work wonders. Maybe a soft blue to evoke calmness or a bold red to spark energy? The choice is yours! And don’t forget about lighting. Pendant lights hanging above your island can create a warm, inviting atmosphere, perfect for those late-night chats over a glass of wine.
Finally, accessorize! Add some decorative items like plants or cookbooks to give your island personality. It’s all about making the space feel like home. So, roll up your sleeves, grab those tools, and let your imagination run wild. Your dream kitchen island is just a DIY project away!
The Heart of the Home: Building a Kitchen Island That Combines Functionality and Comfort
First off, let’s talk about functionality. Your kitchen island should be more than just a pretty face. Think about what you need: extra storage for pots and pans, a spot for your cookbooks, or maybe even a built-in wine rack. It’s like having a Swiss Army knife in your kitchen—versatile and ready for anything! You can incorporate drawers, shelves, or even a small fridge to keep your drinks cool. The key is to design it in a way that makes your cooking experience smoother and more enjoyable.
Now, let’s sprinkle in some comfort. Picture this: a few bar stools lined up at your island, inviting everyone to pull up a seat. It’s the perfect spot for a quick breakfast or a late-night snack while you chat about your day. Choose comfortable seating that complements your kitchen’s style. Maybe go for cushioned stools or even a built-in bench for a more relaxed vibe.
Lighting plays a crucial role too. Pendant lights hanging above your island can create a warm, inviting atmosphere, making it the perfect gathering spot. It’s like setting the stage for a cozy dinner party or a casual family brunch.
Frequently Asked Questions
What tools are essential for building a kitchen island?
To build a kitchen island, essential tools include a circular saw for cutting wood, a drill for assembling components, a level to ensure even surfaces, a measuring tape for accurate dimensions, and a sander for finishing touches. Additionally, having a square for precise angles and clamps for securing pieces during assembly can enhance the building process.
What are the steps to install cabinets in my kitchen island?
To install cabinets in your kitchen island, first measure the space to ensure proper fit. Next, assemble the cabinets according to the manufacturer’s instructions. Secure the cabinets to the floor and each other using screws for stability. Level the cabinets to ensure they are even. Finally, attach the countertop and any additional features like doors or drawers. Ensure all connections are tight and check for alignment.
What materials do I need to build a kitchen island with cabinets and seating?
To build a kitchen island with cabinets and seating, you will need plywood or MDF for the structure, cabinet hardware, screws, and wood glue for assembly. Additionally, choose a countertop material such as granite, quartz, or laminate. For seating, select bar stools or chairs that fit the height of the island. Don’t forget tools like a saw, drill, and measuring tape for construction.
How can I add seating to my kitchen island effectively?
To effectively add seating to your kitchen island, consider the height of the island and choose bar stools or counter stools that match. Ensure there is enough space for movement and comfort, ideally allowing 24-30 inches of width per seat. Incorporate a mix of fixed and movable seating for flexibility, and choose materials that complement your kitchen’s design. Finally, ensure adequate lighting and access to power outlets if needed.
How do I design the layout for my kitchen island?
To design an effective kitchen island layout, consider the island’s size, shape, and functionality. Ensure it complements the overall kitchen design and allows for easy movement. Incorporate essential features like seating, storage, and appliances based on your cooking habits. Maintain a clear workflow by positioning the island within reach of the main work areas, such as the stove and sink.
