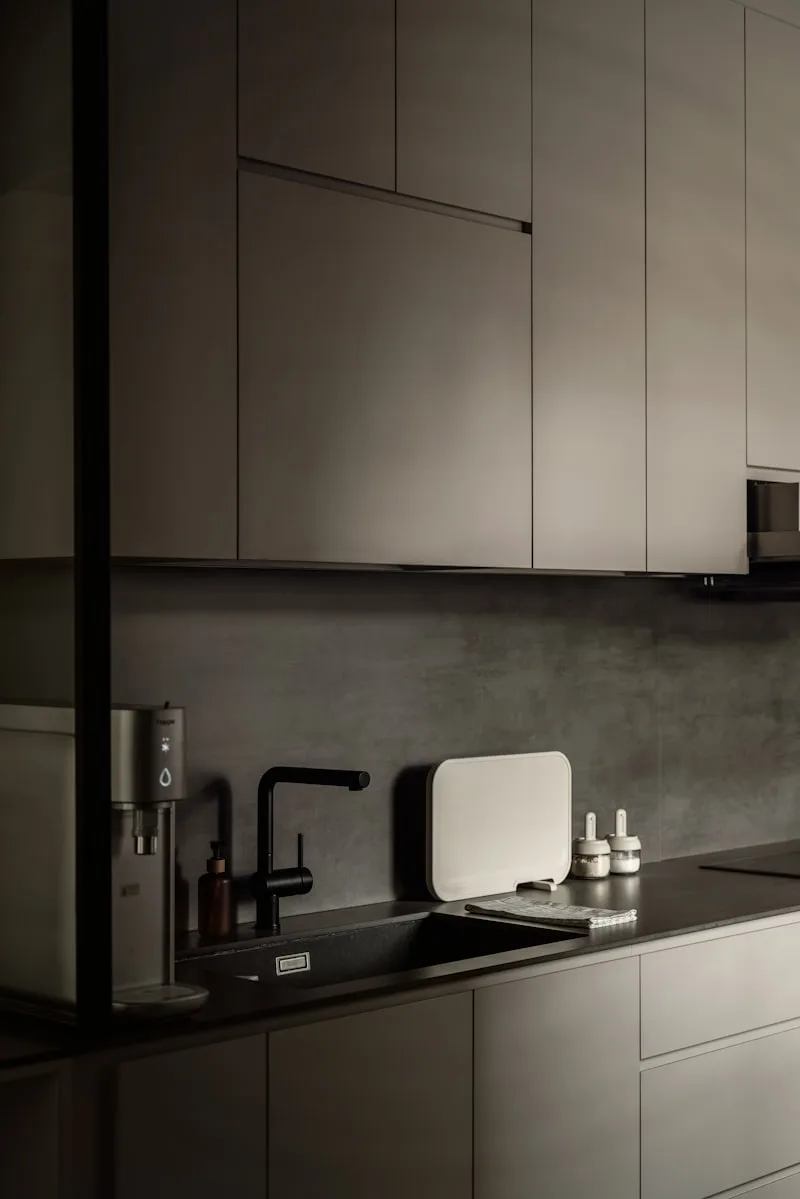
Now, let’s dive into the process. Begin by removing all the cabinet doors and hardware. It’s like taking off a jacket before a big makeover—everything needs to be out of the way for the transformation to happen. Once that’s done, apply the paint stripper generously to the surface of the cabinets. Think of it as slathering on a thick layer of frosting; you want it to soak in and do its magic.
After letting the stripper sit for the recommended time—usually around 15 to 30 minutes—grab your putty knife. Gently scrape away the old paint, and watch as it peels off like a snake shedding its skin. If you encounter stubborn spots, don’t fret! A little extra stripper and some patience will do the trick.
Once you’ve stripped away the paint, it’s time to sand the surfaces. This step is crucial for achieving a smooth finish. Use fine-grit sandpaper to buff out any rough patches, and remember to wipe down the cabinets with a damp cloth to remove any dust. It’s like giving your cabinets a refreshing spa day!
Now, you’re ready to either repaint or refinish your cabinets. Just think about how satisfying it will be to see your kitchen transformed, all thanks to a little elbow grease and creativity!
Revive Your Kitchen: Expert Tips for Stripping Paint Off Cabinets Like a Pro
First things first, gather your supplies. You’ll need a good paint stripper, some scrapers, and protective gear. Think of the paint stripper as your magic potion—it’s going to help you peel away those years of neglect. When applying it, use a brush to slather it on thick, almost like frosting a cake. Let it sit for a while, giving it time to work its magic.
Now, here’s where the fun begins! Grab your scraper and start gently removing the paint. It’s like peeling an onion; layer by layer, you’ll reveal the beautiful wood underneath. Just be careful not to gouge the surface—nobody wants a cabinet that looks like it went through a battle!
Once you’ve stripped off the old paint, it’s time for a little TLC. Sanding is your next step, and it’s crucial for a smooth finish. Think of it as giving your cabinets a spa day. Use a fine-grit sandpaper to buff them up, and don’t forget to wipe away the dust afterward.
Finally, consider applying a fresh coat of paint or a clear finish to protect your hard work. It’s like putting on a new outfit; your cabinets will feel brand new! So, roll up your sleeves, put on some music, and get ready to transform your kitchen into a space that feels fresh and inviting. Who knew stripping paint could be this rewarding?
From Drab to Fab: The Ultimate Guide to Stripping Paint from Kitchen Cabinets
First things first, let’s talk about the tools you’ll need. Think of this as your treasure map to a fabulous kitchen. You’ll want a good paint stripper, some scrapers, and protective gear—gloves and goggles are a must! Safety first, right? It’s like gearing up for a mini adventure in your own home.
Now, onto the fun part: the actual stripping! Apply the paint stripper generously, like spreading frosting on a cake. Let it sit for a while—this is where the magic happens. You’ll see the old paint bubbling up, almost like it’s begging to be removed. Grab your scraper and gently peel away the layers of history. It’s satisfying, like peeling off a sunburn!

Once you’ve stripped the paint, it’s time to clean up. Use a damp cloth to wipe away any residue. Think of it as giving your cabinets a refreshing shower after a long day. And don’t forget to sand them down for that smooth finish—like polishing a gem until it sparkles.
Finally, you can choose to repaint or leave them natural. Either way, you’ll be amazed at how a little effort can breathe new life into your kitchen. So, roll up those sleeves and get ready to turn your drab cabinets into fab masterpieces!
DIY Delight: How to Effectively Strip Paint Off Your Kitchen Cabinets
First things first, gather your supplies. You’ll need a paint stripper, some good-quality scrapers, and protective gear—gloves and goggles are a must! Trust me, you don’t want to end up with paint splatters in your eyes or on your skin. Once you’re suited up, apply the paint stripper generously. It’s like slathering on sunscreen before a day at the beach; you want to cover every inch.
Now, here’s where the magic happens. Let the stripper sit for the recommended time—usually around 15 to 30 minutes. This is when the paint starts to bubble and lift, almost like it’s having a mini meltdown. Grab your scraper and gently start to peel away the paint. It’s satisfying, right? Just like peeling off a sunburn, but way more rewarding!
If you hit any stubborn spots, don’t fret. A little extra stripper and some elbow grease will do the trick. Once you’ve stripped all the paint, clean the surfaces with a damp cloth to remove any residue. It’s like giving your cabinets a refreshing shower after a long day.
Now, you’re left with a clean slate, ready for a new finish or a fresh coat of paint. Just imagine how stunning your kitchen will look with those beautifully stripped cabinets shining through!
Transform Your Space: Step-by-Step Techniques for Stripping Paint from Cabinets
First things first, gather your supplies. You’ll need a paint stripper, a putty knife, sandpaper, and some good old-fashioned elbow grease. Think of the paint stripper as your magic potion—it’s going to help dissolve that stubborn paint. Apply it generously to the cabinet surface and let it sit for the recommended time. It’s like giving your cabinets a spa day!
Once the paint starts bubbling up, grab your putty knife and gently scrape away the softened paint. It’s almost like peeling a sunburn, but way more satisfying! Just be careful not to gouge the wood underneath. If you encounter any stubborn spots, don’t sweat it—just reapply the stripper and give it another go.
After you’ve stripped away the old paint, it’s time to sand. This step is crucial because it smooths out any rough patches and preps the surface for a fresh coat of paint or stain. Use a medium-grit sandpaper to start, then switch to a finer grit for that silky finish. Picture it like polishing a gemstone; you want it to shine!
Finally, wipe down the cabinets with a damp cloth to remove any dust. Now, you’re ready to transform your space with a stunning new look! Whether you choose a bold color or a classic stain, your cabinets will be the talk of the town. So, roll up those sleeves and get ready to unveil the beauty hiding beneath that old paint!
Say Goodbye to Old Paint: Top Methods for Refreshing Your Kitchen Cabinets
First up, let’s talk about a good ol’ paint job. It’s like giving your cabinets a brand-new outfit! Choose a color that speaks to you—maybe a bold navy or a soft sage green. Just imagine how a fresh coat can transform your kitchen from drab to fab! Make sure to prep the surface by cleaning and sanding it down; this step is crucial for that smooth finish.
If you’re not into painting, consider a cabinet refacing. Think of it as a facelift for your cabinets. You can replace the doors and drawer fronts while keeping the existing structure. It’s a fantastic way to achieve a brand-new look without the hassle of a full remodel. Plus, you can choose from a variety of materials and finishes to match your style.
Now, if you’re feeling adventurous, why not try a DIY wood stain? It’s like giving your cabinets a warm hug! Staining can enhance the natural beauty of the wood, adding depth and character. Just remember to test the stain on a small area first to ensure it’s the look you want.
Lastly, don’t underestimate the power of hardware. Swapping out old knobs and handles can make a world of difference. It’s like adding jewelry to an outfit—small changes can have a big impact! So, whether you’re painting, refacing, staining, or updating hardware, refreshing your kitchen cabinets can be a fun and rewarding project.
Frequently Asked Questions
What are the best methods for stripping paint from kitchen cabinets?
To effectively strip paint from kitchen cabinets, consider using chemical paint strippers, which dissolve paint quickly. Alternatively, heat guns can soften the paint for easy removal. Sanding is another method, though it requires more effort and can damage the wood if not done carefully. Always ensure proper ventilation and safety measures when using chemicals or heat.
How do I prepare my kitchen cabinets for paint stripping?
To prepare your kitchen cabinets for paint stripping, start by removing all hardware, including knobs and hinges. Clean the surfaces thoroughly to eliminate grease and dirt. Use a screwdriver to take off the cabinet doors and drawers for easier access. If necessary, lightly sand the surfaces to help the stripper adhere better. Finally, ensure the area is well-ventilated and protect surrounding surfaces with drop cloths.
What safety precautions should I take when stripping paint?
When stripping paint, ensure proper ventilation by working in an open area or using fans. Wear protective gear, including gloves, goggles, and a mask to avoid inhaling harmful chemicals. Keep flammable materials away from the work area and use drop cloths to protect surfaces. Follow the manufacturer’s instructions for the paint stripper and dispose of waste materials safely.
How long does it take to strip paint off kitchen cabinets?
The time required to strip paint off kitchen cabinets varies based on the method used and the number of cabinets. Generally, it can take anywhere from a few hours to a couple of days. Factors such as the type of paint, the stripping technique (chemical or heat), and the condition of the cabinets will influence the duration. Proper preparation and technique can help expedite the process.
What tools and materials do I need for paint stripping?
To effectively strip paint, you will need a variety of tools and materials. Essential items include a paint stripper (chemical or natural), protective gloves, goggles, and a mask for safety. Additionally, have a putty knife or scraper for removing the paint, sandpaper for smoothing surfaces, and rags for cleanup. A drop cloth will help protect the surrounding area. Ensure proper ventilation when using chemical strippers.
