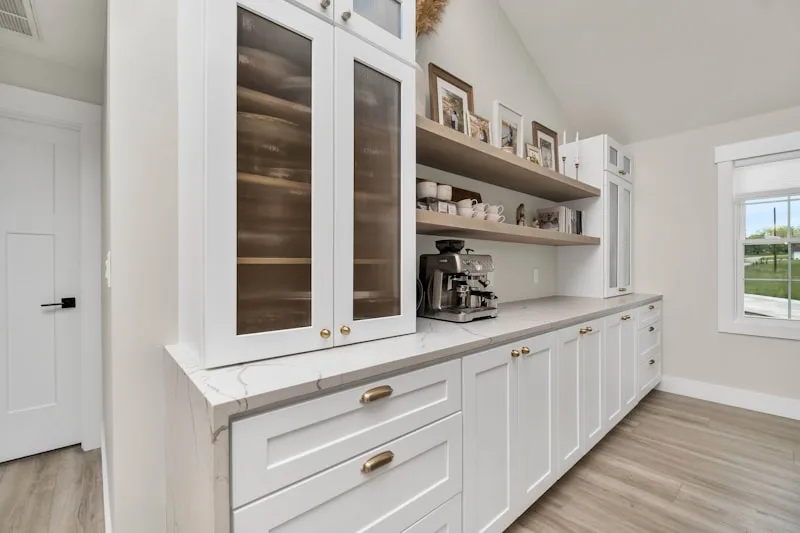
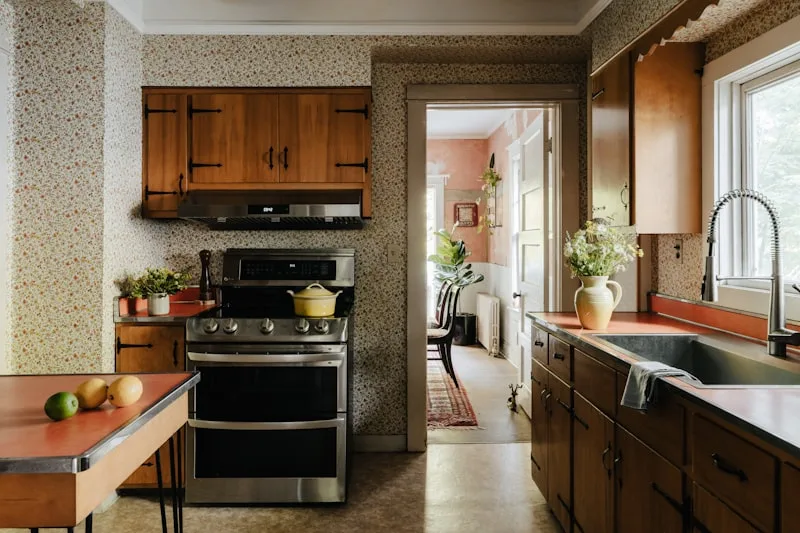
First things first, gather your tools. You’ll need a drill, a measuring tape, a level, and of course, your chosen handles. Think of this as your treasure map; each tool is a step closer to your shiny new kitchen. Start by measuring where you want the handles to go. A good rule of thumb is to place them about 2-3 inches from the top or bottom of the cabinet door. This not only looks great but also feels comfortable when you’re opening and closing them.
Now, here’s where the magic happens. Mark the spots with a pencil—this is your blueprint. If you’re feeling a bit fancy, use a level to ensure everything is straight. Nobody wants a lopsided handle, right? Once you’ve got your marks, it’s time to drill. Take a deep breath; it’s not as scary as it sounds! Just make sure to drill straight down to avoid any mishaps.
After you’ve made the holes, it’s time to attach the handles. Slide the screws through the back of the cabinet and screw on the handles from the front. It’s like putting together a puzzle, and when you see those handles in place, you’ll feel like a DIY superstar!
And there you have it! With just a few simple steps, you’ve transformed your kitchen cabinets from drab to fab. It’s amazing how something so small can make such a big difference, isn’t it?
Transform Your Kitchen: A Step-by-Step Guide to Installing Cabinet Handles
First things first, gather your tools. You’ll need a screwdriver, a measuring tape, and maybe a level if you’re feeling fancy. Choosing the right handles is crucial—think of them as the jewelry of your kitchen. Whether you prefer sleek stainless steel or rustic bronze, pick something that reflects your style.
Now, let’s measure! Start by marking where your new handles will go. If you’re replacing old ones, use the existing holes to save yourself some work. But if you’re going for a completely new look, measure twice and drill once. It’s like cooking; you don’t want to ruin the dish by skipping steps!

Once you’ve got your holes ready, it’s time to attach those handles. Align them carefully and screw them in. It’s like putting together a puzzle—everything should fit just right. If you’re using a level, now’s the time to make sure everything is straight. A crooked handle can be like a bad haircut; it just doesn’t sit right!
Finally, step back and admire your handiwork. You’ve just transformed your kitchen with a simple upgrade! It’s amazing how something so small can make such a big difference. So, are you ready to roll up your sleeves and get started? Your dream kitchen is just a few handles away!
Handle with Care: Expert Tips for Perfectly Placing Kitchen Cabinet Hardware
First off, think about ergonomics. You wouldn’t want to stretch like a yoga master just to open a drawer, right? A good rule of thumb is to position pulls and knobs about 2.5 to 3 inches from the edge of the cabinet door. This sweet spot not only looks great but also feels natural when you reach for it.
Next, consider the height. If you’re on the shorter side, placing hardware lower can make a world of difference. Picture this: you’re cooking up a storm, and you have to jump to reach that pull. Frustrating, isn’t it? Aim for a height of around 36 to 48 inches from the floor for upper cabinets. This way, everyone can access them without a hassle.
Now, let’s talk about style. Mixing and matching can be fun, but too much variety can lead to chaos. Think of your hardware as accessories to an outfit. You wouldn’t wear polka dots with stripes, would you? Stick to a cohesive theme—whether it’s modern, rustic, or vintage—to keep your kitchen looking polished.
Lastly, don’t forget about the spacing between pulls on drawers. A gap of about 1 to 2 inches between pulls creates a balanced look. It’s like giving each piece of hardware its own moment in the spotlight. So, take your time, measure twice, and place with care. Your kitchen will thank you!
DIY Delight: How to Add Stylish Handles to Your Kitchen Cabinets
First off, let’s talk about the magic of handles. They’re not just functional; they can be a statement piece. Imagine sleek, modern handles that scream sophistication or rustic knobs that whisper charm. The right handles can elevate your kitchen from ordinary to extraordinary. Plus, it’s a DIY project that won’t break the bank!
So, how do you get started? First, gather your materials. You’ll need your chosen handles, a drill, a measuring tape, and a level. Don’t worry if you’re not a DIY pro; this is easier than baking a cake! Start by measuring where you want the handles to go. A little tip: keep them at a comfortable height—about 36 inches from the floor is usually perfect.
Next, mark your spots and drill those holes. It’s like making a tiny doorway for your new handles! Once that’s done, simply screw in the handles. Voila! You’ve just added a touch of flair to your kitchen.
But wait, there’s more! You can mix and match styles for a unique look. Think about pairing sleek metal handles with wooden cabinets for a stunning contrast. Or go for colorful ceramic knobs to add a pop of personality. The possibilities are endless, and that’s what makes this DIY project so delightful!
So, roll up your sleeves and get ready to transform your kitchen. With just a few stylish handles, you’ll create a space that feels fresh, inviting, and uniquely yours.
From Drab to Fab: Elevate Your Kitchen Aesthetics with New Cabinet Handles
Imagine walking into your kitchen and being greeted by sleek, modern handles that catch the light just right. It’s amazing how something so small can make such a big difference. Think of your cabinet handles as the jewelry of your kitchen. Just like a stunning necklace can elevate a plain outfit, the right handles can transform your cabinets from boring to breathtaking.
Now, you might be wondering, “How do I choose the right ones?” Well, it’s all about your style. Are you going for a rustic farmhouse feel or a sleek, contemporary look? Maybe you want something quirky and fun! The options are endless, from brushed nickel to vibrant colors that pop. Picture this: a matte black handle against a white cabinet. It’s like a bold statement that says, “I’m here, and I mean business!”
And let’s not forget about functionality. New handles can make opening and closing cabinets a breeze, especially if you’re juggling a pot in one hand and a spatula in the other. Plus, they’re an easy DIY project that won’t break the bank. Just a few screws, and voilà! You’ve got a kitchen that feels brand new.
The Ultimate Guide to Choosing and Installing Kitchen Cabinet Handles

First off, think about your kitchen’s style. Are you going for a sleek, modern look, or do you prefer something more rustic? Handles come in all shapes and sizes, from minimalist bars to ornate knobs. Picture your kitchen as a canvas; the right handles can be the brushstrokes that bring it to life.
Next, consider the material. Stainless steel offers a contemporary feel, while brass can add a touch of vintage charm. It’s like choosing between a classic rock song and a trendy pop hit—both can be great, but it depends on the mood you want to set.
Now, let’s talk about installation. Don’t worry; it’s easier than you might think! All you need is a drill, a measuring tape, and a bit of patience. Start by measuring the distance between the holes on your old handles (if you’re replacing them) or decide where you want the new ones to go. Mark those spots, drill the holes, and voilà! You’re one step closer to a kitchen that feels brand new.
And hey, don’t forget to have fun with it! Choosing and installing kitchen cabinet handles is a chance to express your personality. So, roll up your sleeves, get creative, and transform your kitchen into a space that truly reflects you.
Frequently Asked Questions
Can I Install Cabinet Handles Without Professional Help?
Yes, you can install cabinet handles without professional help. With basic tools like a drill and a screwdriver, you can measure, mark, and securely attach handles to your cabinets. Following manufacturer instructions and using a level will ensure a professional-looking result.
How Do I Choose the Right Handles for My Kitchen Cabinets?
Selecting the appropriate handles for kitchen cabinets involves considering style, material, size, and functionality. Match the handles to your kitchen’s overall design, ensuring they complement the cabinetry and other hardware. Choose durable materials that can withstand daily use, and ensure the size is comfortable for gripping while fitting the scale of the cabinets. Test different styles to find the best aesthetic and ergonomic fit for your space.
What Are the Best Practices for Installing Kitchen Cabinet Handles?
To ensure a professional and functional installation of kitchen cabinet handles, start by measuring and marking the desired height and position for each handle. Use a level to maintain alignment and a template for consistent spacing. Pre-drill holes to prevent wood splitting and ensure a secure fit. Choose handles that complement your cabinet style and consider ergonomic placement for ease of use. Finally, tighten screws firmly but avoid over-tightening to prevent damage.
How Do I Measure for Proper Handle Placement?
To ensure proper handle placement, measure the height from the floor to the point where the handle will be installed. Consider the user’s average reach and the intended use of the handle. For doors, a common height is 36 to 48 inches from the floor. For cabinets, handles are typically placed 2 to 3 inches from the top or bottom edge. Always verify measurements with the specific design and user needs in mind.
What Tools Do I Need to Install Cabinet Handles?
To install cabinet handles, you will need a few essential tools: a drill or screwdriver for fastening, a measuring tape for accurate placement, a level to ensure alignment, and a pencil for marking drill points. Optional tools include a chisel for adjustments and a stud finder if you’re installing on a wall. Having these tools ready will make the installation process efficient and straightforward.
