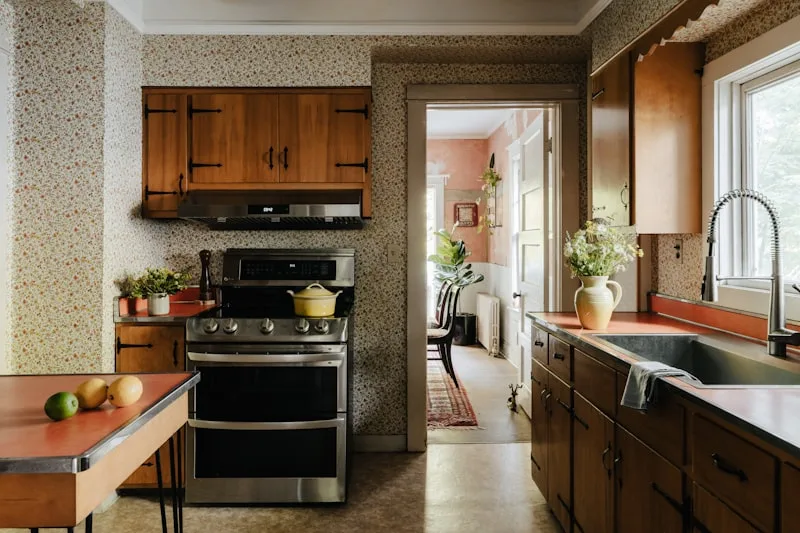
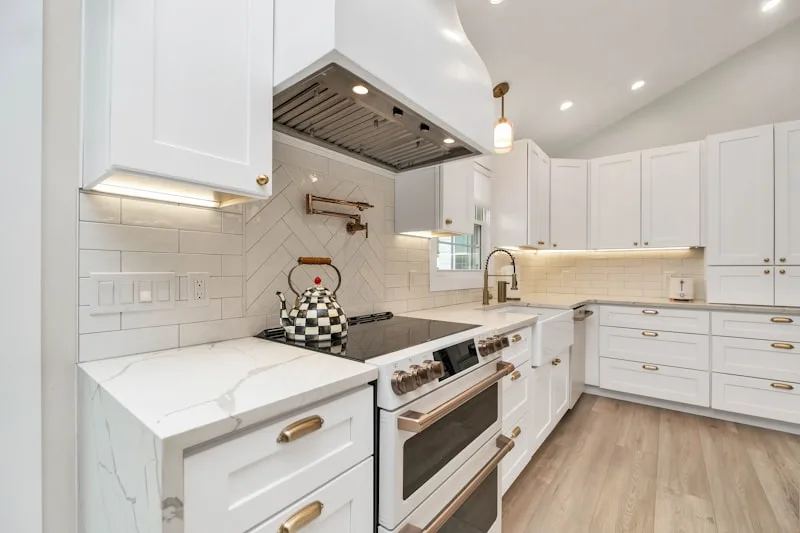
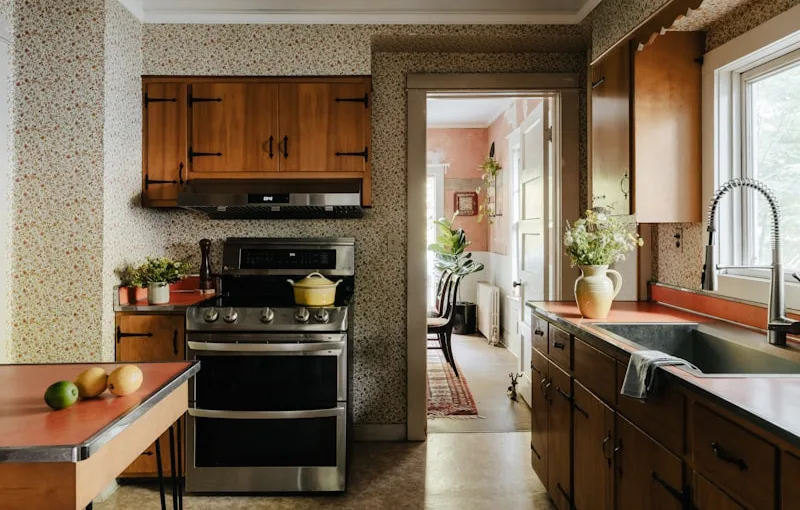
First things first, prep work is key. Think of it as laying the foundation for a beautiful house. Start by removing all the cabinet doors and hardware. This might feel like a hassle, but it’s crucial for achieving that flawless finish. Next, give those surfaces a good clean. You wouldn’t paint over dirt, right? Use a degreaser to tackle any grease or grime—your future self will thank you!
Now, let’s talk about sanding. It’s like giving your cabinets a mini spa day. Lightly sand the surfaces to create a rough texture for the paint to cling to. Don’t skip this step; it’s what separates the amateurs from the pros! After sanding, wipe everything down with a damp cloth to remove dust.
When it comes to paint, choose a high-quality, durable option. A satin or semi-gloss finish is perfect for kitchens since it’s easy to clean and resists moisture. Use a brush for corners and a roller for larger areas to ensure an even coat. Remember, patience is your best friend here. Apply multiple thin coats rather than one thick one—this will help avoid drips and give you that professional look.
Finally, let everything dry completely before reattaching the doors and hardware. It’s like waiting for a cake to cool before frosting it; you want it to be just right! With a little time and effort, you’ll have kitchen cabinets that look like they belong in a magazine.
Transform Your Space: Expert Tips for Painting Kitchen Cabinets Like a Pro
First off, prep work is key. Think of it as laying the foundation for a beautiful house. Start by removing all the cabinet doors and hardware. This might feel like a hassle, but trust me, it’s worth it! Clean those surfaces thoroughly to get rid of grease and grime. A clean canvas is essential for a flawless finish.

Next, don’t skimp on primer. It’s like the secret sauce that helps your paint stick and enhances the color. Choose a high-quality primer that’s suitable for wood surfaces. Once that’s dry, you’ll be ready to unleash your creativity with paint. Opt for a durable, semi-gloss or satin finish that can withstand the hustle and bustle of kitchen life.
Now, here’s a pro tip: use a foam roller for a smooth application. It’s like gliding on butter! For corners and detailed areas, a good brush will do the trick. Remember to apply thin coats; it’s better to build up layers than to deal with drips and runs later.
And don’t forget about the drying time! Patience is a virtue here. Allow each coat to dry completely before adding the next. This will ensure a professional-looking finish that you’ll be proud to show off.
So, are you ready to roll up your sleeves and transform your kitchen? With these tips, you’ll be well on your way to creating a space that feels fresh, modern, and uniquely yours!
From Drab to Fab: A Step-by-Step Guide to Professional-Quality Cabinet Painting
First things first, prep work is key. Think of it as laying the foundation for a beautiful house. Start by removing all the cabinet doors and hardware. This might feel like a hassle, but trust me, it’s worth it! Clean those surfaces thoroughly to get rid of grease and grime—nobody wants a sticky finish.
Next, it’s time to sand. Grab some sandpaper and give those cabinets a light scuff. This step is like giving your cabinets a fresh haircut; it helps the paint stick better. Don’t skip this part! After sanding, wipe down the surfaces to remove any dust.
Now, let’s talk paint. Choose a high-quality, durable paint that’s designed for cabinets. It’s like picking the right outfit for a big event; you want something that looks great and lasts! Use a brush for corners and a roller for flat surfaces to get that smooth, professional finish.
Once you’ve painted, patience is your best friend. Allow the paint to dry completely before reassembling everything. It’s like letting a cake cool before frosting—don’t rush it!
Finally, reattach the doors and hardware, and step back to admire your handiwork. You’ve just turned your kitchen from drab to fab, and it didn’t even require a contractor! Isn’t it amazing what a little paint can do?
Unlock the Secrets: How to Achieve a Flawless Finish on Your Kitchen Cabinets
First things first, prep work is key. Think of it like laying the foundation for a house; if it’s not solid, everything else will crumble. Start by removing all the cabinet doors and hardware. Give them a good clean to remove grease and grime—trust me, your paint will thank you later! Sanding is your next step. It’s like giving your cabinets a fresh haircut; it helps the paint adhere better and gives you that smooth finish you’re dreaming of.
Now, let’s talk paint. Choosing the right type is crucial. You wouldn’t wear flip-flops in a snowstorm, right? Similarly, opt for a high-quality, durable paint that can withstand the hustle and bustle of a kitchen. A satin or semi-gloss finish is often the best choice, as it’s easy to clean and reflects light beautifully.
When it comes to application, think of it as icing a cake. Use a brush for corners and detailed areas, and a roller for the flat surfaces. This combo will help you avoid those pesky brush strokes that can ruin your masterpiece. And don’t rush it! Patience is your best friend here. Allow each coat to dry completely before applying the next one.
Finally, once everything is dry, reattach the hardware and step back to admire your work. It’s like unveiling a piece of art you created yourself! With these tips, you’ll be well on your way to achieving that flawless finish you’ve always wanted for your kitchen cabinets.
DIY or Hire a Pro? Master the Art of Painting Kitchen Cabinets Yourself
First off, let’s talk about the satisfaction of DIY. Imagine standing back and admiring your handiwork, knowing you transformed your kitchen with your own two hands. It’s like creating a masterpiece on a blank canvas! Plus, you’ll save a chunk of change by skipping the contractor fees. With a little elbow grease, some quality paint, and a few tools, you can achieve a professional-looking finish without breaking the bank.
But hold on—before you grab that paintbrush, consider the time and effort involved. Painting cabinets isn’t just a quick weekend project. You’ll need to prep the surfaces, which means cleaning, sanding, and priming. It’s a bit like preparing a garden bed before planting; you want to ensure everything is just right for the best results. If you’re up for the challenge and have a few weekends to spare, then go for it!
On the flip side, hiring a pro can save you the hassle. If you’re short on time or feel a bit overwhelmed, a professional can swoop in and handle the job with expertise. They’ve got the experience and tools to make your cabinets shine like new. Think of it as calling in a superhero when the DIY project feels like a daunting villain.

So, what’s it going to be? Are you ready to roll up your sleeves and dive into the world of DIY, or will you let the pros take the reins? The choice is yours!
Frequently Asked Questions
How Long Does It Take to Paint Kitchen Cabinets?
The time required to paint kitchen cabinets typically ranges from a few days to a week. This includes preparation, priming, painting, and drying time. Factors such as the number of cabinets, the type of paint used, and the complexity of the project can influence the overall duration.
What Type of Paint is Best for Kitchen Cabinets?
For kitchen cabinets, a high-quality acrylic latex paint is recommended due to its durability, ease of cleaning, and resistance to moisture. Additionally, consider using a semi-gloss or satin finish for a smooth, wipeable surface that can withstand daily wear and tear.
What Supplies Do I Need to Paint Kitchen Cabinets?
To paint kitchen cabinets, you will need the following supplies: high-quality paint suitable for cabinetry, primer, sandpaper or a sanding block, a paintbrush and roller, painter’s tape, a drop cloth to protect surfaces, and a clean cloth for dusting. Additionally, consider using a paint sprayer for a smoother finish and a good ventilation mask for safety.
How Can I Achieve a Smooth Finish When Painting?
To achieve a smooth finish when painting, start by preparing the surface properly by cleaning and sanding it to remove imperfections. Use high-quality brushes or rollers to apply paint evenly, and consider using a primer to enhance adhesion. Apply thin, even coats and allow adequate drying time between layers. Finally, lightly sand between coats for an ultra-smooth result.
How Do I Prepare My Cabinets for Painting?
To prepare your cabinets for painting, start by removing all hardware and doors. Clean surfaces thoroughly to eliminate grease and dirt. Sand the surfaces lightly to create a smooth base for paint adhesion. Fill any holes or imperfections with wood filler and sand again once dry. Finally, wipe down the cabinets with a damp cloth to remove dust before applying primer and paint.
