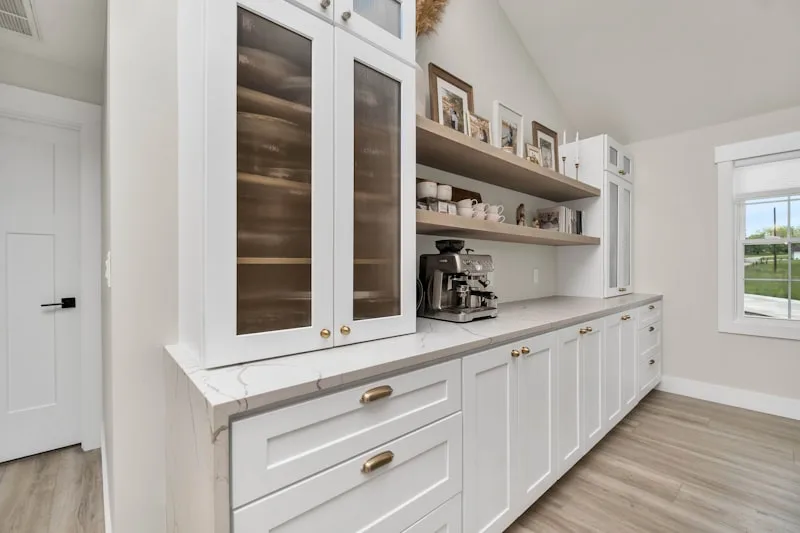
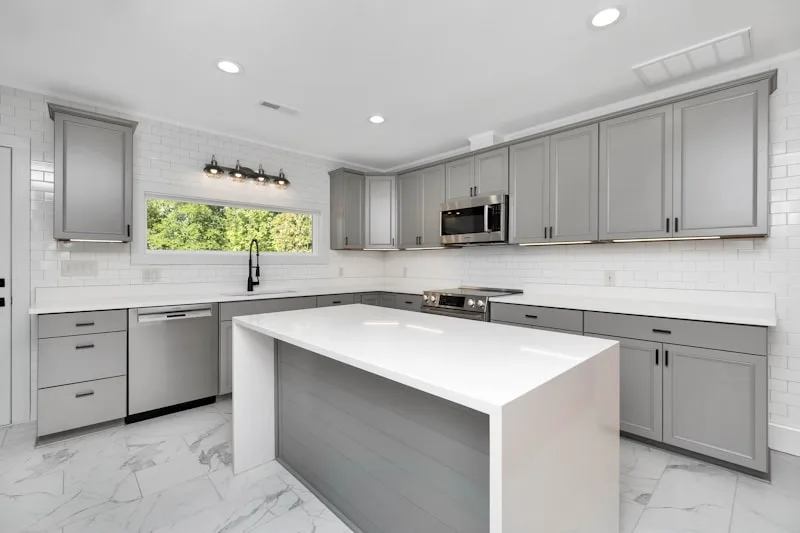
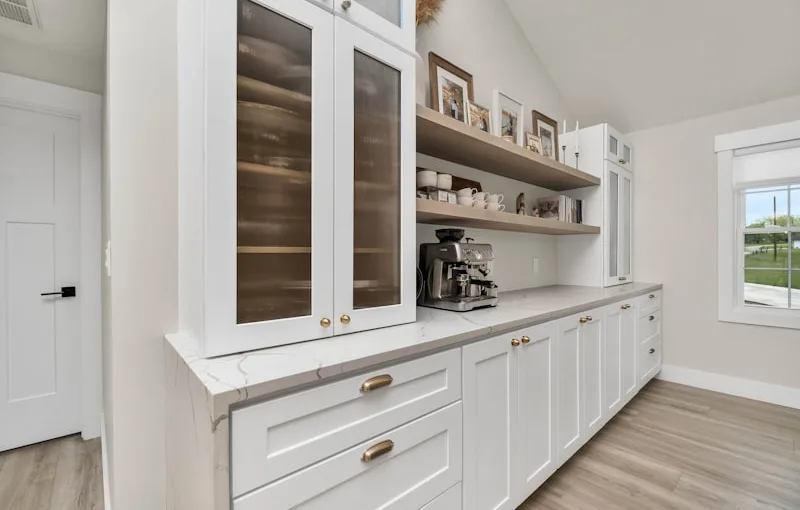
First things first, gather your tools. You’ll need a level, a drill, screws, and maybe a friend to help you lift those heavy cabinets. It’s like preparing for a mini adventure—having the right gear makes all the difference! Start by measuring your space. You wouldn’t want to buy a beautiful cabinet only to find it doesn’t fit, right?
Next, mark the wall where your cabinets will hang. This is your roadmap! Use a level to draw a straight line, ensuring everything stays aligned. Now, it’s time to lift those cabinets into place. If you’ve got a buddy, this part is a breeze. Just make sure to secure the cabinets to the wall studs. Think of it as anchoring a ship; you want it to stay put, especially when you start loading it up with dishes and pots.
Once the cabinets are secured, it’s time to attach them to each other. Use screws to connect the cabinets, creating a sturdy row. It’s like building a strong team—each piece supports the other! Don’t forget to check for levelness as you go. A little adjustment now can save you from a wobbly cabinet later.
Step-by-Step Guide: Mastering the Art of Installing Bottom Kitchen Cabinets

First things first, gather your tools. You’ll need a level, a drill, screws, a measuring tape, and, of course, your cabinets. Think of these tools as your trusty sidekicks on this DIY adventure. Now, before you start, it’s crucial to measure your space. Picture this: you wouldn’t bake a cake without measuring the ingredients, right? The same goes for your cabinets. Measure the width, height, and depth of the area where your cabinets will go.
Next, it’s time to mark the wall. Use a pencil to draw a level line where the top of your cabinets will sit. This line is your guiding star, ensuring everything stays straight and true. Now, grab your first cabinet and position it against the wall. Here’s where the magic happens! Secure it to the wall using screws, making sure it’s level. If it’s not, don’t panic! Just adjust it until it is.
Once the first cabinet is in place, it’s time to play matchmaker with the rest. Connect the cabinets together using screws, ensuring they’re flush against each other. Think of it like putting together a puzzle—everything should fit snugly.
Finally, add the finishing touches. Install the cabinet doors, and voilà! You’ve just transformed your kitchen. It’s like giving your space a fresh coat of paint, but with a lot more impact. So, are you ready to tackle this project and impress your friends with your newfound skills? Let’s get started!
Transform Your Kitchen: Expert Tips for Installing Bottom Cabinets Like a Pro
First off, let’s talk about planning. Imagine trying to bake a cake without a recipe—chaos, right? The same goes for your cabinets. Measure your space carefully and sketch out a plan. This will help you visualize how everything fits together. Trust me, a little prep work goes a long way!

Next, it’s all about choosing the right cabinets. Think of them as the foundation of your kitchen’s personality. Do you want sleek and modern, or warm and rustic? Whatever your style, make sure the cabinets are sturdy and made from quality materials. You wouldn’t build a house on sand, would you?
Now, let’s get to the fun part—installation! Start by leveling the floor. A wobbly cabinet is like a three-legged stool; it just doesn’t work. Use shims to adjust the height if needed. Once that’s sorted, it’s time to secure the cabinets to the wall. This step is crucial; you don’t want your beautiful new cabinets crashing down during a dinner party!
And here’s a pro tip: always work from the corner out. This method ensures that everything lines up perfectly, like pieces of a puzzle. Plus, it makes your life a whole lot easier!
Finally, don’t forget about the finishing touches. Adding hardware like knobs and pulls can elevate your cabinets from ordinary to extraordinary. It’s like putting on the perfect accessory to complete an outfit. So, roll up your sleeves, grab those tools, and let’s get to transforming your kitchen!
DIY Delight: A Beginner’s Journey to Installing Bottom Kitchen Cabinets
First things first, gather your tools. You’ll need a level, a drill, screws, and maybe a friend to lend a hand. Think of it as assembling your own superhero team—every tool plays a crucial role in your mission. Once you’ve got everything ready, it’s time to measure your space. Grab that tape measure and channel your inner architect! Accurate measurements are your best friends here; they’ll ensure your cabinets fit snugly, just like a well-tailored suit.
Now, let’s talk about the installation process. Start by marking where your cabinets will go. It’s like drawing a treasure map—this is your guide to finding the perfect spot for each cabinet. When you’re ready to hang them, remember to lift with your legs, not your back! It’s all about keeping it safe and sound. As you secure each cabinet, take a moment to step back and admire your handiwork. It’s like watching a masterpiece come to life!
And don’t forget about leveling! A wobbly cabinet is like a three-legged stool—nobody wants that. Use your level to ensure everything is just right. If you encounter any hiccups, don’t sweat it! Every DIY journey has its bumps, but that’s what makes it memorable. Embrace the process, learn from it, and soon enough, you’ll be the proud owner of a beautifully installed bottom kitchen cabinet that you can brag about to your friends.
From Blueprint to Reality: How to Successfully Install Bottom Kitchen Cabinets
Now, let’s talk about the layout. Before you dive in, take a moment to visualize where each cabinet will go. It’s like planning a road trip; you wouldn’t just jump in the car without a map, right? Mark the wall with a pencil to ensure everything aligns perfectly. This step is crucial because a little misalignment can lead to a domino effect of problems down the line.
Once you’ve got your layout sorted, it’s time to start installing. Begin with the corner cabinet, as it sets the stage for the rest. Secure it to the wall using your level to ensure it’s straight—nobody wants a wobbly cabinet! As you move on to the adjacent cabinets, use clamps to hold them in place while you drill. It’s like holding your breath while you make that perfect shot in basketball; focus is key!
Don’t forget to check for levelness after each installation. It’s like tuning a guitar; a little adjustment can make a world of difference in the final sound. And remember, patience is your best friend here. Take your time, and soon enough, you’ll step back and admire your handiwork, feeling like a true kitchen wizard!
Frequently Asked Questions
What Tools Do I Need to Install Bottom Kitchen Cabinets?
To install bottom kitchen cabinets, you will need a tape measure for accurate measurements, a level to ensure cabinets are straight, a drill for making holes and driving screws, a stud finder to locate wall studs, a screwdriver for fastening, and clamps to hold cabinets in place during installation. Additionally, having a square can help ensure corners are right-angled.
How Do I Level Bottom Kitchen Cabinets Properly?
To level bottom kitchen cabinets, start by checking the floor for unevenness using a level. Adjust the cabinet legs or shims under the cabinets to achieve a level surface. Ensure that all cabinets are aligned with each other and the countertop. Tighten any screws and check the level again to confirm stability.
What Common Mistakes Should I Avoid When Installing Bottom Kitchen Cabinets?
When installing bottom kitchen cabinets, avoid common mistakes such as not leveling the cabinets properly, neglecting to secure them to the wall, failing to measure accurately for spacing, and overlooking the importance of a sturdy base. Ensure you use the right tools and follow a systematic approach to achieve a professional finish.
How Do I Measure for Bottom Kitchen Cabinets?
To measure for bottom kitchen cabinets, start by determining the desired height, typically 34.5 inches for standard cabinets. Measure the width of the space where the cabinets will be installed, ensuring to account for any appliances or fixtures. For depth, standard cabinets are usually 24 inches deep. Use a level to check for any unevenness in the floor, as this may affect installation. Record all measurements accurately to ensure a proper fit.
What is the Step-by-Step Process for Installing Bottom Kitchen Cabinets?
To install bottom kitchen cabinets, start by measuring the space and marking the layout on the wall. Assemble the cabinets according to the manufacturer’s instructions. Level the first cabinet and secure it to the wall using screws. Connect adjacent cabinets by aligning them and fastening them together. Ensure all cabinets are level and plumb, making adjustments as necessary. Finally, secure the cabinets to the wall and install any necessary hardware.
