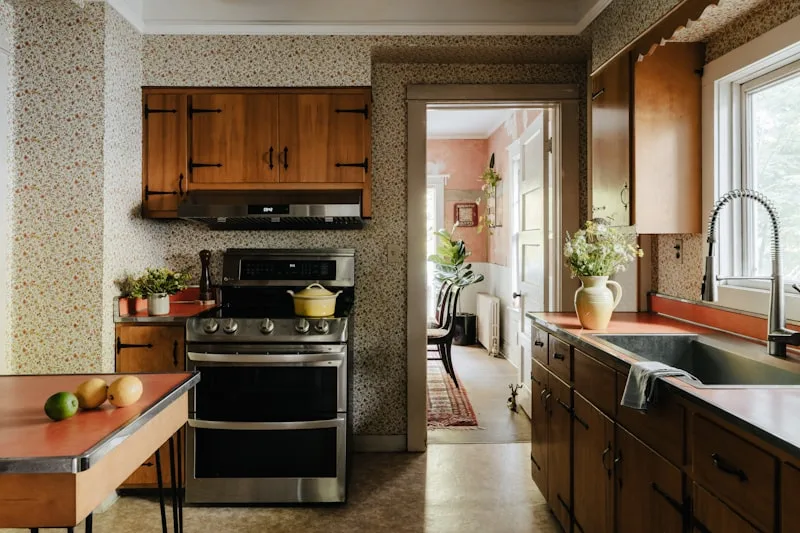
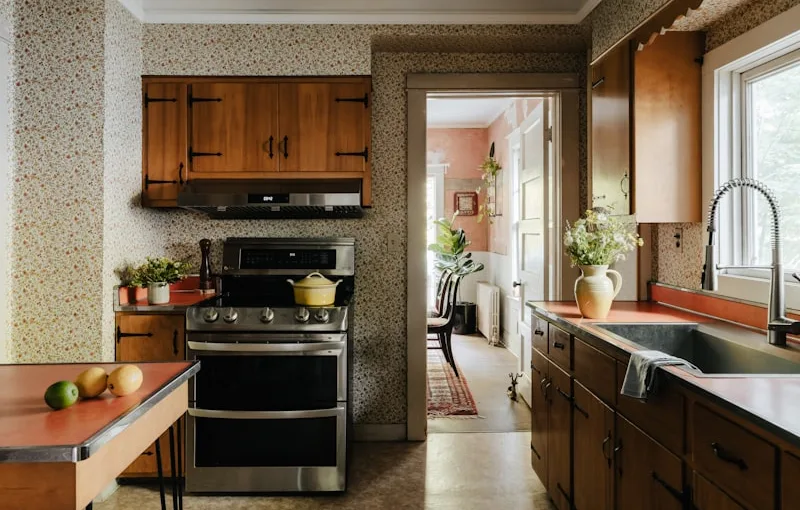
First things first, gather your tools. You’ll need a hairdryer, a plastic scraper or an old credit card, and some warm, soapy water. Think of the hairdryer as your secret weapon. The heat will soften the adhesive, making it easier to peel off that pesky plastic. Just like warming up a cold piece of pizza makes it more enjoyable, warming the plastic will make it more manageable.
Start by setting your hairdryer to a medium heat setting and directing it at the plastic covering. Move it back and forth, just like you’re trying to melt away the stress of a long day. After a minute or so, you should notice the plastic starting to loosen. Now, grab your plastic scraper or credit card and gently lift a corner of the plastic. It’s like coaxing a shy cat out from under the bed—patience is key!
As you peel, keep applying heat to the areas that resist. If you encounter any sticky residue, don’t fret! Dip a cloth in warm, soapy water and gently scrub the area. It’s like giving your cabinets a little spa treatment. Rinse and dry the surface, and voilà! Your kitchen cabinets are now free from that annoying plastic covering, ready to shine and show off their true beauty.
So, roll up your sleeves and get to it! You’ll be amazed at how a little heat and patience can transform your kitchen space.
Unveiling Your Cabinets: The Ultimate Guide to Removing Plastic Wrapping
First things first, grab a pair of scissors or a utility knife. You’ll want to be careful here—nobody wants to accidentally slice into the cabinet itself! Start at a corner where the plastic is loose. Gently cut through the plastic, making sure to keep your blade away from the wood. It’s like peeling an orange; you want to get to the juicy part without making a mess.
Once you’ve made your initial cut, start pulling the plastic away. It’s often wrapped tightly, so you might need to give it a little tug. Think of it as a stubborn burrito that just won’t let go of its foil. If you encounter any sticky tape, don’t panic! A little warm water can help dissolve the adhesive, making it easier to peel off.
Now, if you’re dealing with multiple cabinets, it’s a good idea to tackle them one at a time. This way, you won’t feel overwhelmed, and you can enjoy the satisfaction of seeing each cabinet emerge from its plastic cocoon. Plus, it’s a great excuse to take a break and admire your handiwork!
As you unveil each cabinet, take a moment to appreciate the craftsmanship. It’s like revealing a hidden treasure! And remember, once the plastic is off, you’ll want to clean the surfaces to remove any residue. A little soap and water will do the trick, leaving your cabinets sparkling and ready to shine in your space.
Say Goodbye to Plastic: Step-by-Step Tips for Cabinet Makeovers
First off, start by decluttering. Take everything out of your cabinets and assess what you really need. This is your chance to ditch those plastic containers that have seen better days. You know the ones—scratched, stained, and probably harboring some mystery leftovers. Toss them out!
Next, think about what you want to replace that plastic with. Glass jars, bamboo containers, and stainless steel options are not only stylish but also durable. They’ll keep your food fresh without leaching harmful chemicals. Plus, they look great on display!
Now, let’s talk organization. Use drawer dividers or shelf risers to maximize space. It’s like giving your cabinets a little breathing room. You’ll be amazed at how much easier it is to find what you need when everything has its own spot.
Don’t forget about labels! They’re not just for school projects. Labeling your jars and containers adds a personal touch and helps everyone in the household know where things belong. It’s like a treasure map for your kitchen!

Finally, consider a splash of color. Paint the inside of your cabinets or add some decorative contact paper. It’s a fun way to make your kitchen feel more inviting and less plastic-y.
Transform Your Kitchen: How to Easily Strip Plastic from Cabinets
First off, gather your supplies. You’ll need a heat gun or a hairdryer, a putty knife, some gloves, and a good ol’ adhesive remover. Think of the heat gun as your magic wand—it softens the plastic, making it easier to peel away. Start by applying heat to a small section of the cabinet. You’ll see the plastic start to bubble and lift, almost like a sunburn peeling away. It’s oddly satisfying!
Once the plastic is warm and pliable, take your putty knife and gently scrape it off. Be careful not to gouge the wood underneath; you want to reveal the beautiful surface waiting to shine through. If you hit a stubborn spot, don’t hesitate to apply more heat. It’s like coaxing a shy friend out of their shell—sometimes, they just need a little encouragement!
After you’ve stripped the plastic, it’s time to tackle any leftover adhesive. This is where your adhesive remover comes into play. Apply it to a cloth and wipe down the cabinets, removing any residue. It’s like giving your cabinets a refreshing spa day!
Now, you’re left with a clean slate. Whether you choose to paint, stain, or simply leave the wood bare, your kitchen will feel brand new. So, roll up your sleeves and get ready to transform your kitchen into a space you love!
From Drab to Fab: Removing Plastic Covering from Kitchen Cabinets Made Simple
First off, let’s talk about the tools you’ll need. Grab a hairdryer, some warm soapy water, and a trusty plastic scraper. Think of the hairdryer as your secret weapon—it’s like a magic wand that softens the adhesive, making it easier to peel away that pesky plastic. Just aim it at the cabinet surface for a few seconds, and watch the magic happen!
Now, here’s where the fun begins. Once the plastic starts to loosen, gently use your plastic scraper to lift it off. It’s like peeling a banana—just be careful not to damage the cabinet underneath. If you encounter any stubborn bits, don’t sweat it! A little warm soapy water can work wonders. Just dab it on, let it sit for a minute, and then scrape again. It’s all about patience and a little elbow grease.
And let’s not forget about the satisfaction factor! There’s something incredibly rewarding about seeing that shiny wood or fresh paint emerge from beneath the plastic. It’s like unwrapping a gift you didn’t even know you had. Plus, once you’ve removed the plastic, you can give your cabinets a good clean and maybe even a fresh coat of paint or varnish. Imagine how fabulous your kitchen will look!
So, roll up your sleeves, put on your favorite playlist, and get ready to transform your kitchen. With just a little effort, you’ll be amazed at how a simple task can breathe new life into your space. Who knew removing plastic could be this much fun?
Frequently Asked Questions
Are There Any Tips for Avoiding Damage While Removing Plastic?
To prevent damage while removing plastic, ensure you use the right tools, such as a plastic scraper or a heat gun to soften adhesives. Work slowly and carefully to avoid tearing or breaking the plastic. Always test a small area first to assess the best method for removal, and consider using a lubricant like soapy water to ease the process.
How Long Does It Take to Remove Plastic Covering from Cabinets?
The time required to remove plastic covering from cabinets typically ranges from 15 minutes to an hour, depending on the size of the cabinets and the complexity of the covering. Factors such as the type of adhesive used and the condition of the surface can also affect the duration. Proper tools and techniques can help expedite the process.
What Tools Do I Need to Remove Plastic from Cabinets?
To effectively remove plastic from cabinets, you will need a few essential tools: a heat gun or hairdryer to soften the adhesive, a plastic scraper or putty knife to gently lift the plastic, adhesive remover or rubbing alcohol to clean any residue, and a soft cloth for wiping down surfaces. Ensure you work carefully to avoid damaging the cabinet finish.
How Can I Safely Remove Plastic Covering from Kitchen Cabinets?
To safely remove plastic covering from kitchen cabinets, start by gently peeling back a corner of the plastic. Use a hairdryer on a low setting to warm the adhesive, making it easier to remove. Slowly pull the plastic away at a 45-degree angle to minimize damage. If residue remains, apply a mild adhesive remover or rubbing alcohol with a soft cloth to clean the surface.
What Should I Do If the Plastic is Stuck or Difficult to Remove?
If you encounter plastic that is stuck or difficult to remove, first try gently heating the area with a hairdryer to soften the plastic. Use a plastic scraper or a credit card to carefully pry it away without damaging the surface. If necessary, apply a small amount of lubricant or adhesive remover to help loosen the bond. Always test any product on a small, inconspicuous area first.
