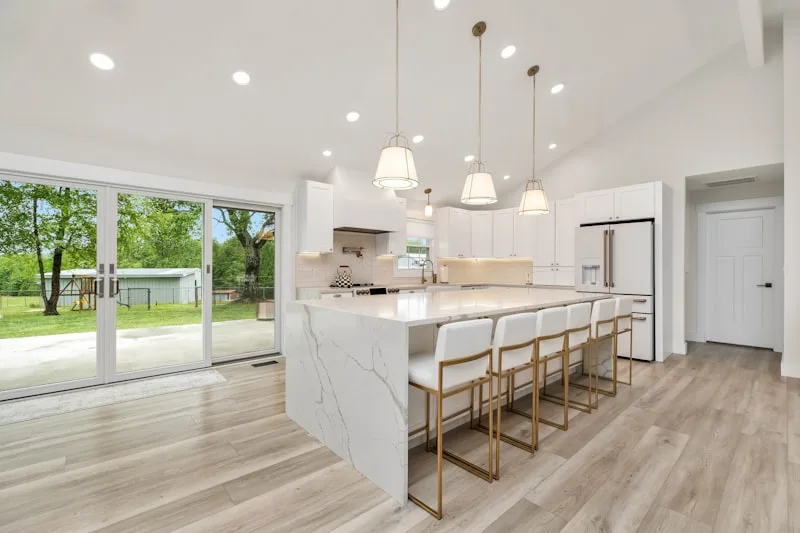
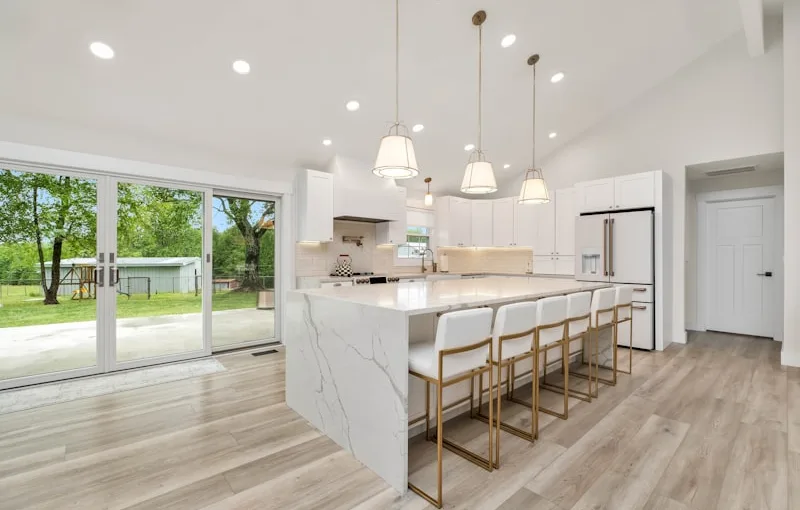
First off, let’s talk about the beauty of refacing. Instead of ripping out your old cabinets, you can simply update their appearance. Think of it as a wardrobe change for your kitchen! You can replace the doors, add new hardware, or even apply a fresh coat of paint. It’s all about making those cabinets reflect your personal style. Plus, it’s a fantastic way to breathe new life into your space without the hassle of a complete overhaul.
Now, you might be wondering, “Where do I even start?” Don’t worry; it’s easier than you think! Begin by removing the cabinet doors and hardware. This is your chance to get creative! Sand down the surfaces to create a smooth canvas, then choose your favorite paint or veneer. If you’re feeling adventurous, why not try a two-tone look? It’s like having a fun dessert with layers—each color adds a unique flavor to your kitchen!
Transform Your Space: A Step-by-Step Guide to DIY Kitchen Cabinet Refacing
First things first, gather your materials. You’ll need some sandpaper, a good quality primer, paint or veneer, and new hardware to really make those cabinets pop. Think of this as giving your cabinets a stylish makeover, like a new outfit that makes you feel fabulous!
Next, it’s time to prep. Start by removing the cabinet doors and hardware. This is like taking off the old clothes before trying on something new. Sand down the surfaces to create a smooth canvas. Don’t rush this step; it’s crucial for that flawless finish.
Once everything is sanded, apply a coat of primer. This is your foundation, much like a good skincare routine before applying makeup. It helps the paint adhere better and ensures a vibrant color payoff. After the primer dries, it’s time to unleash your creativity! Choose a color that speaks to you—maybe a bold navy or a soft sage green.
Now, while the paint dries, consider updating the hardware. New knobs and pulls can be the cherry on top of your kitchen sundae. They can completely change the look and feel of your cabinets, making them feel modern and chic.
Finally, reattach the doors and step back to admire your handiwork. It’s like unveiling a masterpiece you created with your own two hands! Your kitchen will feel transformed, and you’ll have the satisfaction of knowing you did it all yourself.
Revamp Your Kitchen on a Budget: The Ultimate DIY Cabinet Refacing Tips
Imagine walking into a kitchen that feels fresh and inviting, all without breaking the bank. First things first, let’s talk about the magic of paint. A can of high-quality cabinet paint can transform your old, drab cabinets into stunning focal points. Think of it as giving your cabinets a new outfit—one that reflects your style! Choose a color that complements your kitchen’s vibe. Whether it’s a bold navy or a soft pastel, the right hue can breathe new life into your space.
Next up, hardware! Swapping out old knobs and handles for trendy ones is like adding jewelry to an outfit. It’s a small change that makes a big impact. Look for unique designs that catch your eye—maybe something vintage or sleek and modern.
Now, let’s not forget about the power of decals or contact paper. If you’re feeling adventurous, why not give your cabinet doors a faux wood finish or a chic pattern? It’s like giving your cabinets a stylish tattoo!

And if you’re up for a little more work, consider adding a fresh coat of stain to wooden cabinets. This can enhance the natural beauty of the wood and make your kitchen feel warm and inviting.
So, are you ready to roll up your sleeves and dive into this exciting project? With these DIY cabinet refacing tips, your kitchen can go from drab to fab without emptying your wallet!
From Drab to Fab: How to Successfully Reface Your Kitchen Cabinets Yourself
First off, think of your cabinets as the canvas of your kitchen. Just like an artist breathes life into a blank canvas, you can do the same with a little creativity and elbow grease. Start by removing the cabinet doors and hardware. This is like peeling off the old paint to reveal the potential underneath. Once they’re off, give everything a good clean. You wouldn’t paint over dirt, right?
Next, it’s time to choose your new look. Whether you’re going for a sleek modern vibe or a cozy farmhouse feel, the right color and finish can make all the difference. Consider using a high-quality paint or veneer that suits your style. It’s like dressing your cabinets in a brand-new outfit!
Now, let’s talk about the application. If you’re painting, use a foam roller for a smooth finish—think of it as giving your cabinets a spa day. For veneer, carefully measure and cut pieces to fit, then apply them with adhesive. It’s like putting together a puzzle, and the satisfaction of seeing it come together is unbeatable!
Finally, don’t forget the hardware! New knobs and pulls can be the cherry on top of your fabulous transformation. It’s amazing how such small details can elevate the entire look. So, roll up your sleeves, grab your tools, and get ready to turn your kitchen into a space you love!
Unlock Your Inner Designer: Creative Ideas for DIY Kitchen Cabinet Refacing
First off, let’s talk about color. A fresh coat of paint can work wonders! Think about bold hues like navy blue or a soft sage green. These colors can add personality and warmth, making your kitchen feel inviting. If you’re feeling adventurous, why not try a two-tone approach? Picture your upper cabinets in a light, airy shade and the lower ones in a rich, darker tone. It’s like giving your kitchen a chic outfit that’s both trendy and timeless.
Next, let’s dive into textures. Adding new hardware can be a game-changer. Swap out those old knobs and pulls for something modern and sleek. Imagine brushed gold or matte black finishes that catch the light just right. It’s like adding jewelry to your outfit—small details can make a big impact!
And don’t forget about decals or stencils! These can be a fun way to add patterns or designs to your cabinet doors. Think of it as giving your cabinets a unique tattoo that reflects your style. Whether it’s a floral motif or geometric shapes, the options are endless.
Lastly, consider open shelving. Removing a few cabinet doors can create a fresh, airy feel. You can showcase your favorite dishes or quirky kitchen gadgets, turning your kitchen into a personal gallery. So, are you ready to unleash your creativity and transform your kitchen cabinets into a masterpiece? Let’s get started!
Frequently Asked Questions
How Do I Prepare My Cabinets for Refacing?
To prepare your cabinets for refacing, start by removing all hardware, including knobs and hinges. Clean the surfaces thoroughly to eliminate grease and dirt. Repair any damage, such as dents or scratches, and ensure the surfaces are smooth. Finally, remove the cabinet doors and drawers for easier access during the refacing process.
What Steps Are Involved in Refacing Kitchen Cabinets?
Refacing kitchen cabinets involves several key steps: first, remove the cabinet doors and hardware. Next, clean and prepare the surfaces for adhesion. Apply a veneer or laminate to the cabinet frames and doors, ensuring a smooth finish. Reattach the doors and install new hardware for a refreshed look. Finally, inspect the work for quality and make any necessary adjustments.
Can I Reface Cabinets Without Professional Help?
Refacing cabinets can be a DIY project if you have basic tools and skills. It involves removing old doors and hardware, applying veneer or laminate to the existing surfaces, and installing new doors. Proper planning, measuring, and following instructions are essential for a successful outcome. However, if you’re unsure about your abilities, seeking professional help may ensure a more polished finish.
How Long Does DIY Cabinet Refacing Take?
The duration of DIY cabinet refacing varies based on the size of the kitchen and the complexity of the project. Generally, it can take anywhere from a few days to a week. This includes preparation, removal of old materials, applying new veneers or paint, and reassembling the cabinets. Proper planning and organization can help streamline the process.
What Materials Do I Need for DIY Kitchen Cabinet Refacing?
To successfully reface your kitchen cabinets, you will need a few essential materials: new cabinet doors or veneer, adhesive, wood filler, sandpaper, primer, paint or stain, and hardware such as knobs and hinges. Additionally, tools like a saw, drill, and measuring tape will be necessary for accurate installation and finishing.
