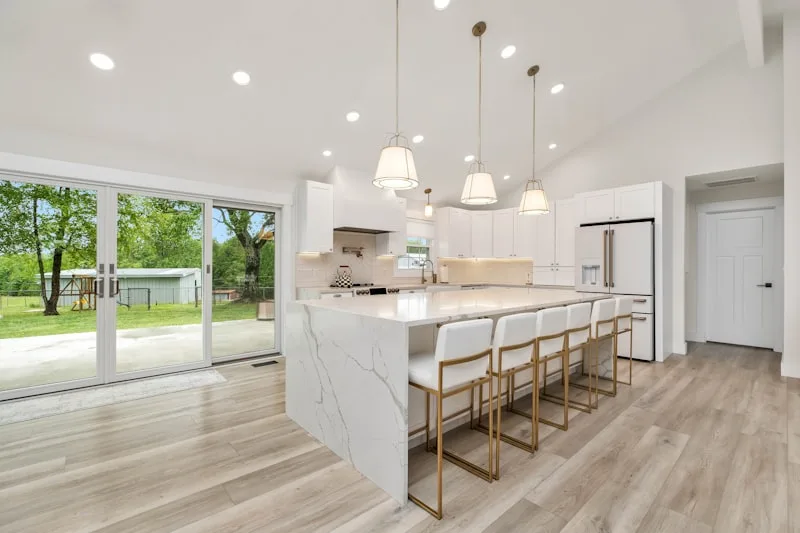
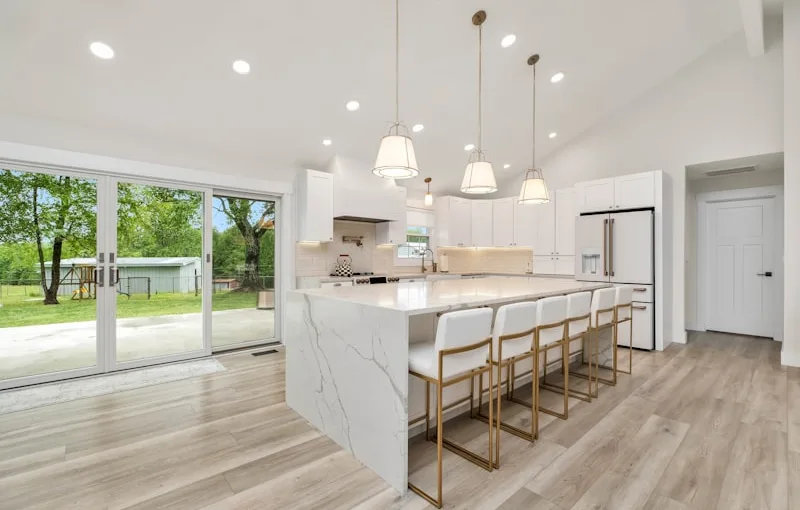
First things first, gather your tools. You’ll need a miter saw, measuring tape, a level, and some adhesive or finishing nails. Think of these tools as your trusty sidekicks in this DIY adventure. Once you have everything ready, measure the top of your cabinets. This is where the crown molding will sit, so precision is key. It’s like measuring for a new pair of shoes; you want that perfect fit!
Next, cut your crown molding at a 45-degree angle. This is where the miter saw shines, allowing you to create those seamless corners that make your cabinets look professionally done. If you’re feeling a bit intimidated, don’t worry! Just remember, practice makes perfect. You can always use scrap pieces to get the hang of it.
Now, it’s time to attach the molding. Apply adhesive to the back of the molding and press it firmly against the top of the cabinets. If you’re using finishing nails, a few strategic taps will secure it in place. Think of it like putting the cherry on top of a sundae—just the finishing touch that makes everything come together.
Finally, fill in any gaps or nail holes with wood filler, and give it a quick sand for a smooth finish. Once painted or stained, your kitchen cabinets will look like they’ve been given a luxurious makeover. So, roll up your sleeves and get ready to elevate your kitchen with some stunning crown molding!
Elevate Your Kitchen: A Step-by-Step Guide to Installing Crown Molding on Cabinets
First things first, gather your tools. You’ll need a miter saw, a nail gun, wood glue, and, of course, your crown molding. Think of this as your toolkit for transformation. Once you have everything, measure the top of your cabinets. It’s like measuring for a new pair of shoes—get it right, and you’ll be strutting in style!
Next, cut your crown molding at a 45-degree angle. This is where the magic happens! Picture it like fitting puzzle pieces together; the angles need to be just right for a seamless look. Don’t worry if it feels tricky at first; practice makes perfect.
Now, it’s time to attach the molding. Apply wood glue to the back of the molding and press it against the cabinet. Use your nail gun to secure it in place. It’s like giving your cabinets a stylish hat—once it’s on, they’ll look so much more polished!
Finally, fill in any gaps with caulk and paint the molding to match or contrast with your cabinets. This is your chance to get creative! Think of it as adding a splash of color to a black-and-white photo.

With just a few steps, you’ve transformed your kitchen into a space that feels fresh and inviting. So, are you ready to roll up your sleeves and get started? Your dream kitchen is just a crown molding away!
Crown Molding Magic: Transform Your Kitchen Cabinets with These Easy Installation Tips
First off, choosing the right crown molding is crucial. Think of it as picking the perfect outfit for a special occasion. You want something that complements your cabinets and fits your style. Whether you prefer a classic, ornate design or a sleek, modern look, there’s a crown molding style out there just waiting for you.
Now, let’s talk about installation. Don’t let the thought of cutting angles scare you! With a miter saw and a little practice, you’ll be cutting like a pro. Measure twice, cut once—this old adage is your best friend. And remember, it’s all about the angles. If you can visualize how the pieces will fit together, you’re already halfway there.
When it comes to attaching the molding, a good adhesive can work wonders. Think of it as the glue that holds your masterpiece together. A few finishing nails will add that extra security, ensuring your crown molding stays put for years to come.
Finally, don’t forget the finishing touches! A coat of paint or stain can make your crown molding pop, giving it that professional look. It’s like the icing on the cake—essential for that final flourish. So, roll up your sleeves and get ready to sprinkle some crown molding magic in your kitchen!
From Drab to Fab: How Crown Molding Can Revitalize Your Kitchen Cabinets
Crown molding is like the cherry on top of your kitchen sundae. It adds that touch of elegance and sophistication, making your cabinets pop. Think of it as the finishing touch that takes your kitchen from “meh” to “wow!” It’s a simple addition that can create a seamless transition between your cabinets and the ceiling, giving the illusion of height and space. Who wouldn’t want their kitchen to feel more open and inviting?
Now, you might be wondering, “Is it really that easy?” Absolutely! Installing crown molding isn’t just for the pros. With a little patience and the right tools, you can tackle this DIY project yourself. Plus, it’s a fantastic way to express your personal style. Whether you prefer a classic, ornate design or a sleek, modern look, there’s a crown molding style that fits your taste.
DIY Delight: Mastering the Art of Crown Molding Installation for Kitchen Cabinets
First off, let’s talk about the materials. You’ll need some crown molding, of course, along with a miter saw, a nail gun, and wood glue. Think of the crown molding as the icing on your cake; it’s what makes everything come together beautifully. When choosing your molding, consider the style of your kitchen. Are you going for a modern vibe or something more traditional? The right choice can elevate your space from drab to fab in no time.
Now, onto the installation! Start by measuring your cabinets carefully. It’s like measuring for a new pair of shoes; you want that perfect fit! Cut your molding at a 45-degree angle for those seamless corners. If you’re feeling a bit nervous about cutting, practice on some scrap wood first. Trust me, it’s worth it to avoid any mishaps.
Once you’ve got your pieces cut, it’s time to attach them. Apply wood glue to the back of the molding and press it against the cabinet. Then, use your nail gun to secure it in place. It’s like giving your cabinets a stylish hat—once it’s on, you’ll wonder how you ever lived without it!
And there you have it! With a little effort and creativity, you can transform your kitchen into a space that feels both inviting and luxurious. So, roll up your sleeves and get ready to impress!
Crown Your Cabinets: Essential Tools and Techniques for a Flawless Installation
First off, you’ll need some basic tools: a miter saw, a nail gun, and a level. Think of the miter saw as your magic wand—it allows you to make precise cuts at the perfect angles. This is crucial because those corners need to fit together like puzzle pieces. A nail gun? It’s your trusty sidekick, speeding up the process and ensuring your crown stays put without the hassle of hammering.
Now, let’s talk technique. Start by measuring your cabinets carefully. It’s like measuring for a new outfit; you want it to fit just right! Once you’ve got your measurements, cut your crown molding at a 45-degree angle for those corners. This is where the miter saw shines. If you’re feeling adventurous, consider coping the joints for a seamless look—it’s like giving your cabinets a tailored suit.
Don’t forget to use a level! It’s your best friend in ensuring everything is straight and true. A slight tilt can make your beautiful crown look wonky, and nobody wants that. As you install, take a step back and admire your work. It’s like watching a masterpiece come to life, one piece at a time.
With the right tools and techniques, you’ll crown your cabinets like a true artisan, transforming your kitchen into a space that radiates charm and style.
Frequently Asked Questions
How Do I Cut Crown Molding for a Perfect Fit?
To achieve a perfect fit when cutting crown molding, start by measuring the wall angles accurately, typically 45 degrees for corners. Use a miter saw set to the correct angle for both the left and right pieces. Make precise cuts, ensuring the molding is positioned upside down on the saw for accurate beveling. Test the fit by dry-fitting the pieces before final installation, making adjustments as necessary for a seamless look.
What Tools Do I Need to Install Crown Molding on Kitchen Cabinets?
To install crown molding on kitchen cabinets, you will need a miter saw for precise angle cuts, a measuring tape for accurate lengths, a level to ensure straight installation, a nail gun or hammer for securing the molding, wood glue for added stability, and a caulk gun for finishing touches. Additionally, having safety goggles and a dust mask is recommended for protection during the process.
How Do I Measure for Crown Molding on Cabinets?
To measure for crown molding on cabinets, start by determining the height and depth of the cabinets. Use a tape measure to find the width of each cabinet section where the molding will be installed. Record these measurements, ensuring to account for any angles or corners. For angled cuts, measure the angle of the cabinet top. Finally, add a few extra inches to each measurement for adjustments and ensure a precise fit.
What are the Steps to Install Crown Molding on Kitchen Cabinets?
To install crown molding on kitchen cabinets, first measure the height and width of the cabinets to determine the length of molding needed. Cut the molding at a 45-degree angle for corners using a miter saw. Secure the molding to the top of the cabinets with finishing nails or adhesive, ensuring it is level. Fill any gaps or nail holes with wood filler, then sand and paint or stain as desired for a polished finish.
What Type of Crown Molding is Best for Kitchen Cabinets?
When selecting crown molding for kitchen cabinets, consider materials like wood or medium-density fiberboard (MDF) for durability and aesthetics. Opt for styles that complement your kitchen’s design, such as traditional, modern, or farmhouse. The best choice balances visual appeal with functionality, ensuring it withstands humidity and wear while enhancing the overall look of your cabinetry.
